The
D Bit FDADAP
Unless
you are limiting
your vintage computer hobby to systems manufactured after the early to
mid 1980s
at some point you will come across an 8" floppy disks and the
associated
drives. These were one the earliest models of FDDs and came in many
flavors: FM, MFM, SS, DS, hard sectored, etc. My interest is mainly in
IBM produced
machines after the mid 70s. During that time IBM was using DSDD 8"
drives in a number of
their systems (e.g. the System 360, the 5110/5120, the 5322/5324
and their associated
external drives). As you can imagine getting SW for these systems is
almost impossible,
so if you want a usable system you need a way to preserve and duplicate
8"
disks.
Unfortunately unlike 5 1/4" and 3 1/2" drives whose standard
sizing, electrical connections, and mounting points have survived to this day
there is no easy way to install an 8" drive in a modern system. As such
you will either need a custom made drive cage and computer case or drives mounted in an
external enclosure. Some people will of course forgo all that fanciness and
just place the bare drive out on a table.
To complicate things further
8" drives use a 50pin header (usually card edge) and require special signaling
to write a disk properly. A modern HD floppy controller, while capable of
reading an 8" floppy, cannot properly write one. This where the D Bit FDADAP comes
into play; to quote the D Bit site:
“The D Bit FDADAP board
is a small adapter which adapts 8" floppy disk drives (Shugart SA800 style
bus) to work with the PC 3.5"/5.25" floppy disk cable pinout...
Some 8" floppy disk drives
require a "TG43" signal, which tells the drive whether its head
carriage is currently positioned at a track number greater than 43... This signal is not normally provided by PC FDCs, so
the FDADAP board has a microcontroller which monitors the disk bus and keeps
track of the signals related to seeks, so that it knows which track each drive
is positioned on, and transparently generates the correct TG43 signal for the
currently selected drive with no intervention from host software.”
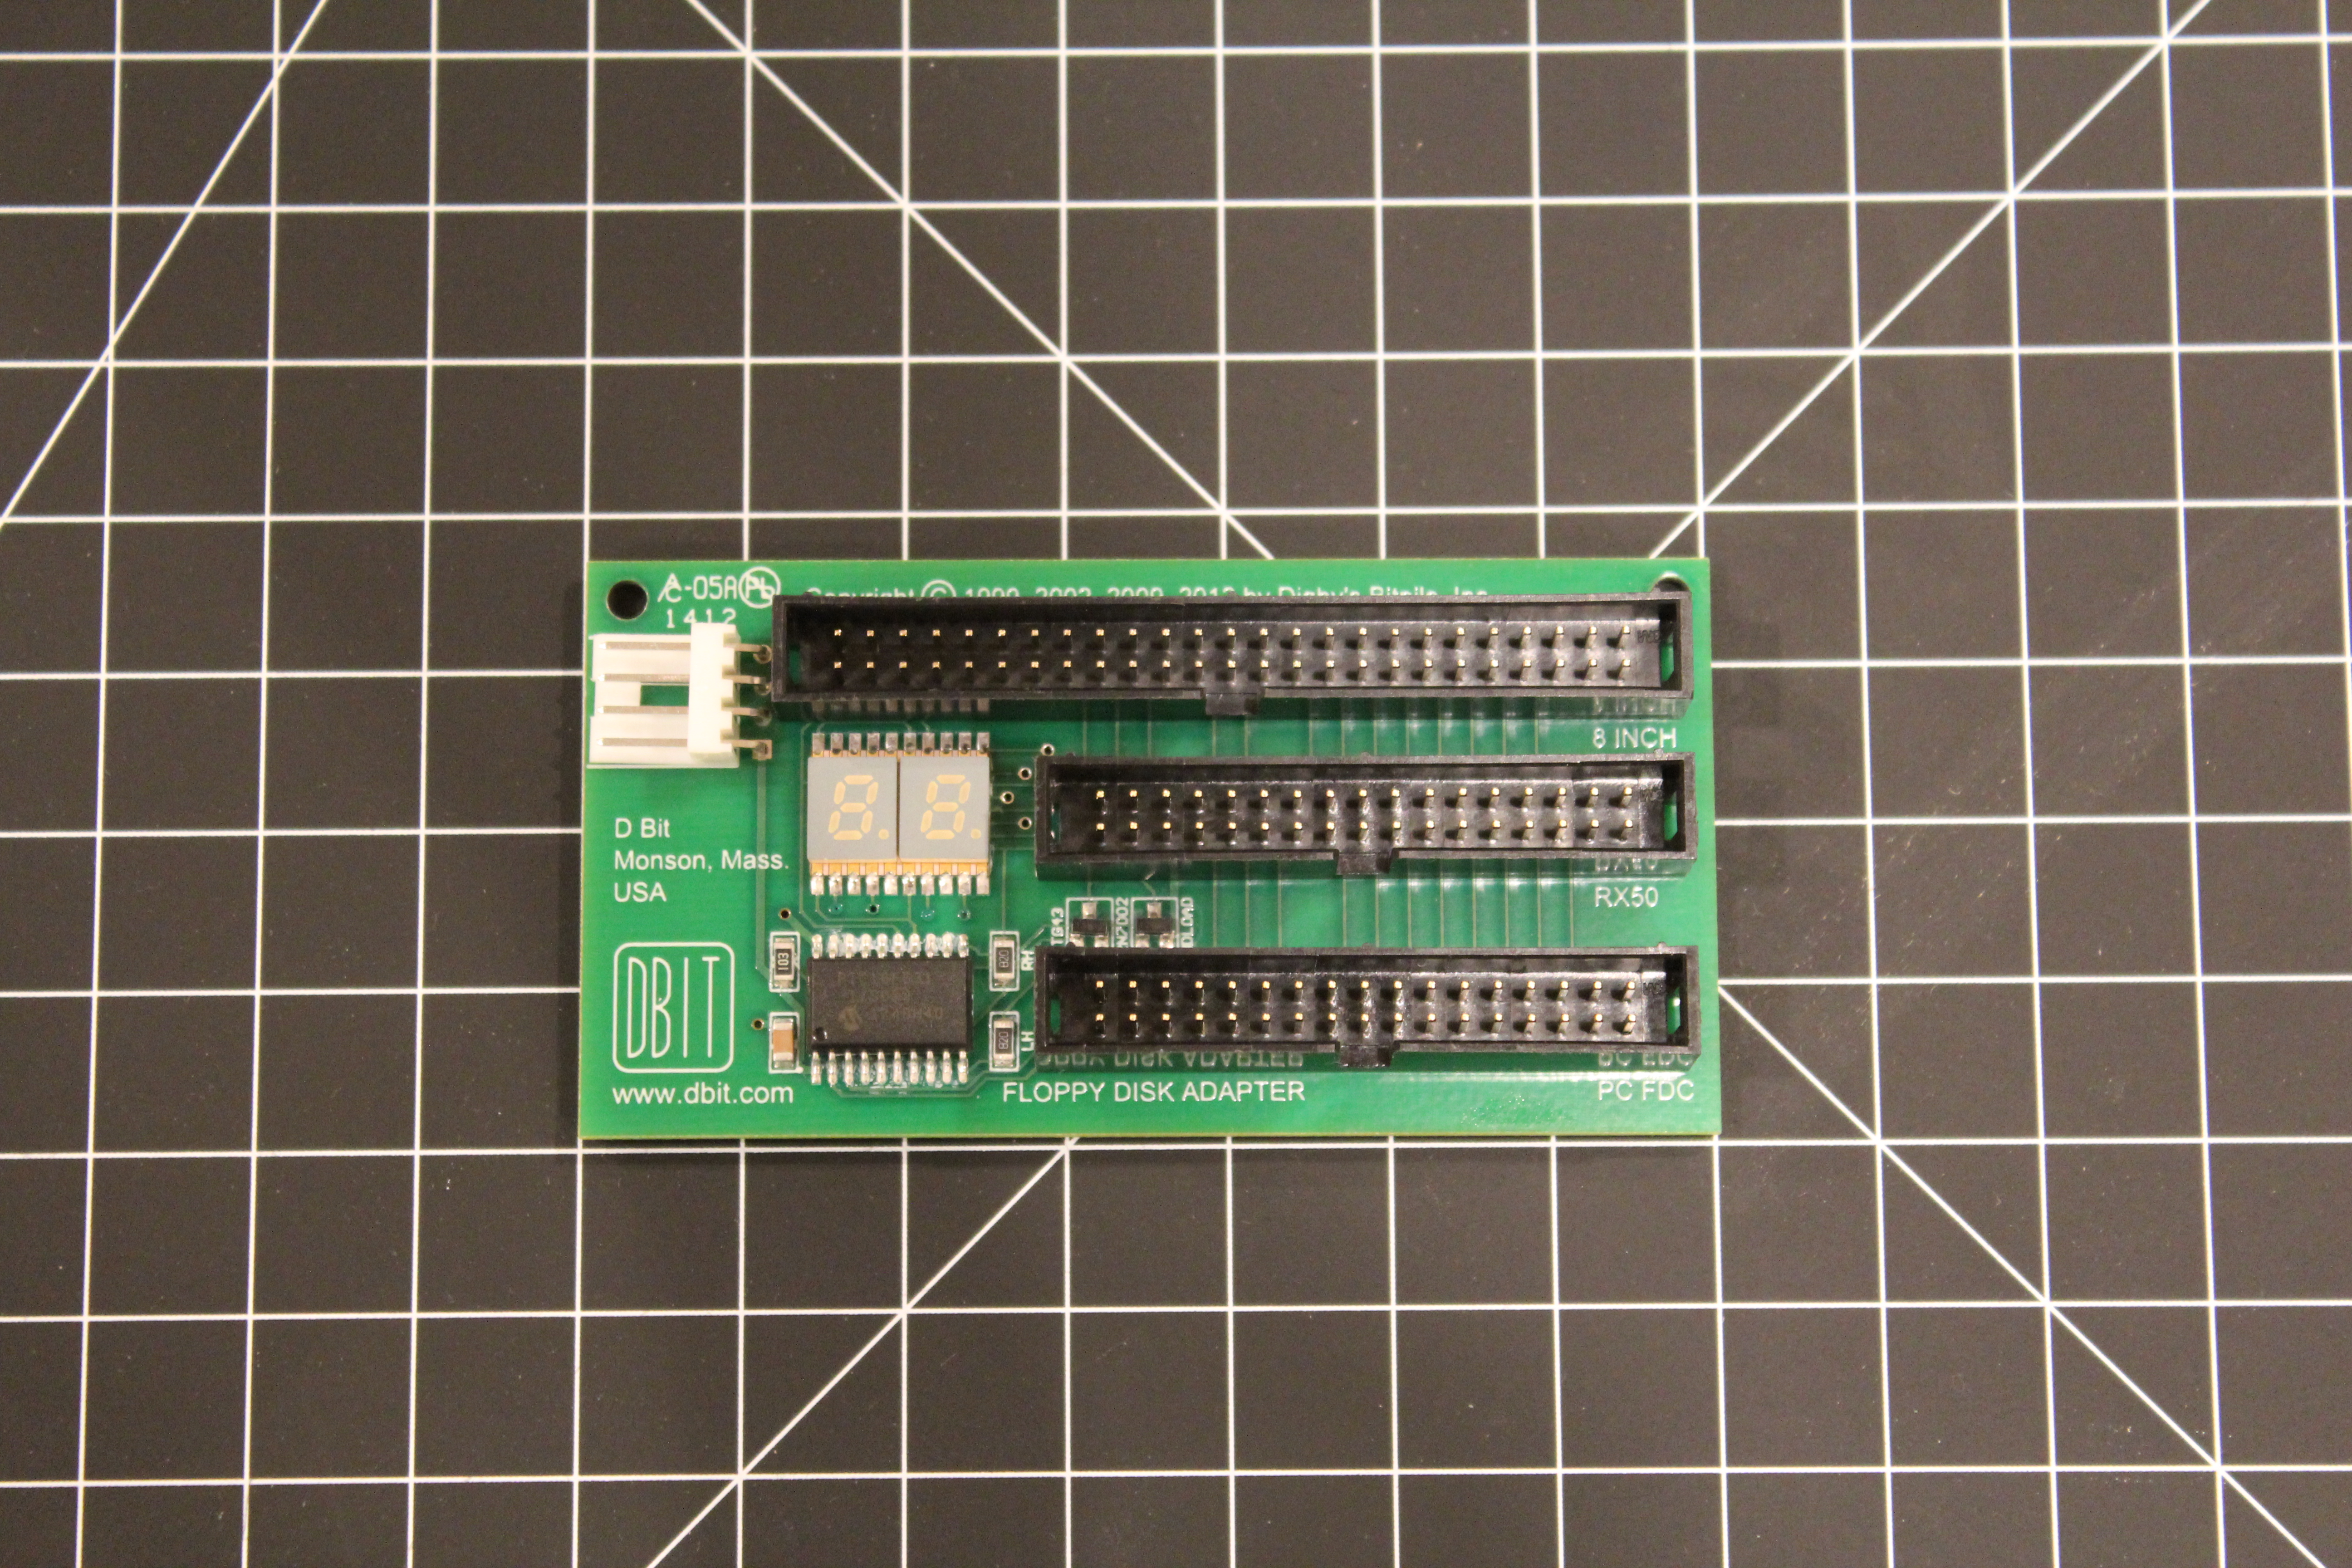
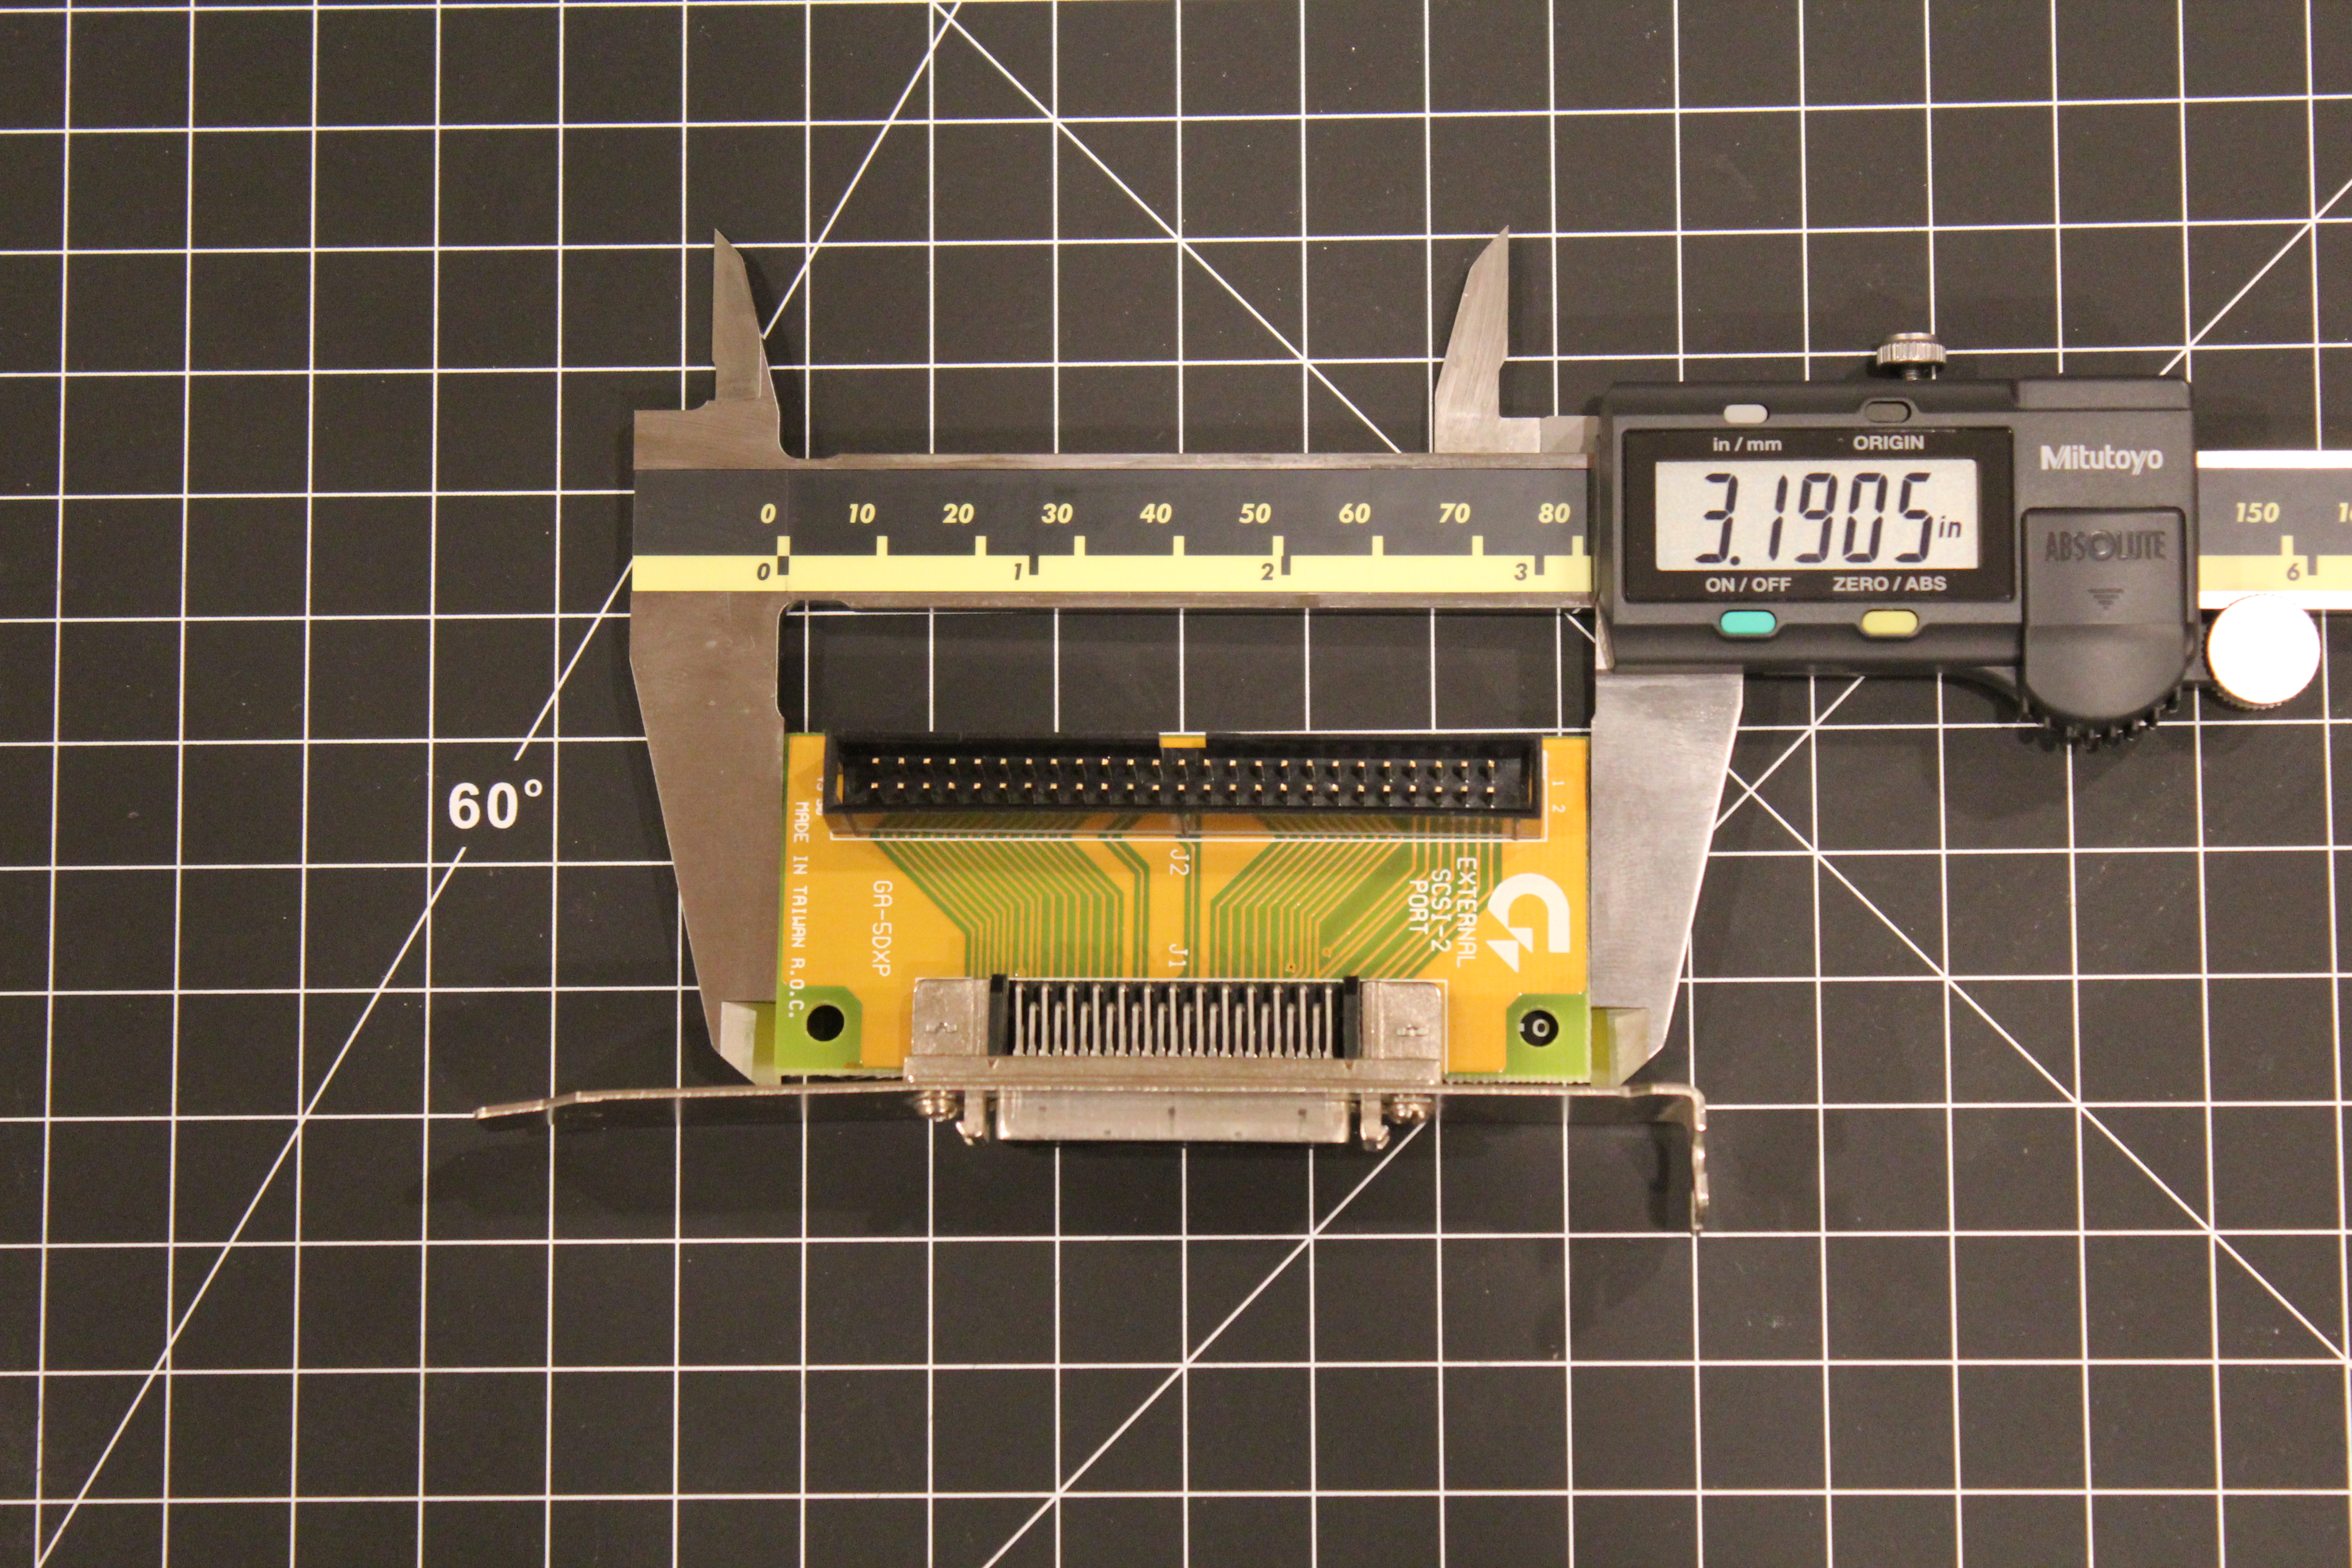
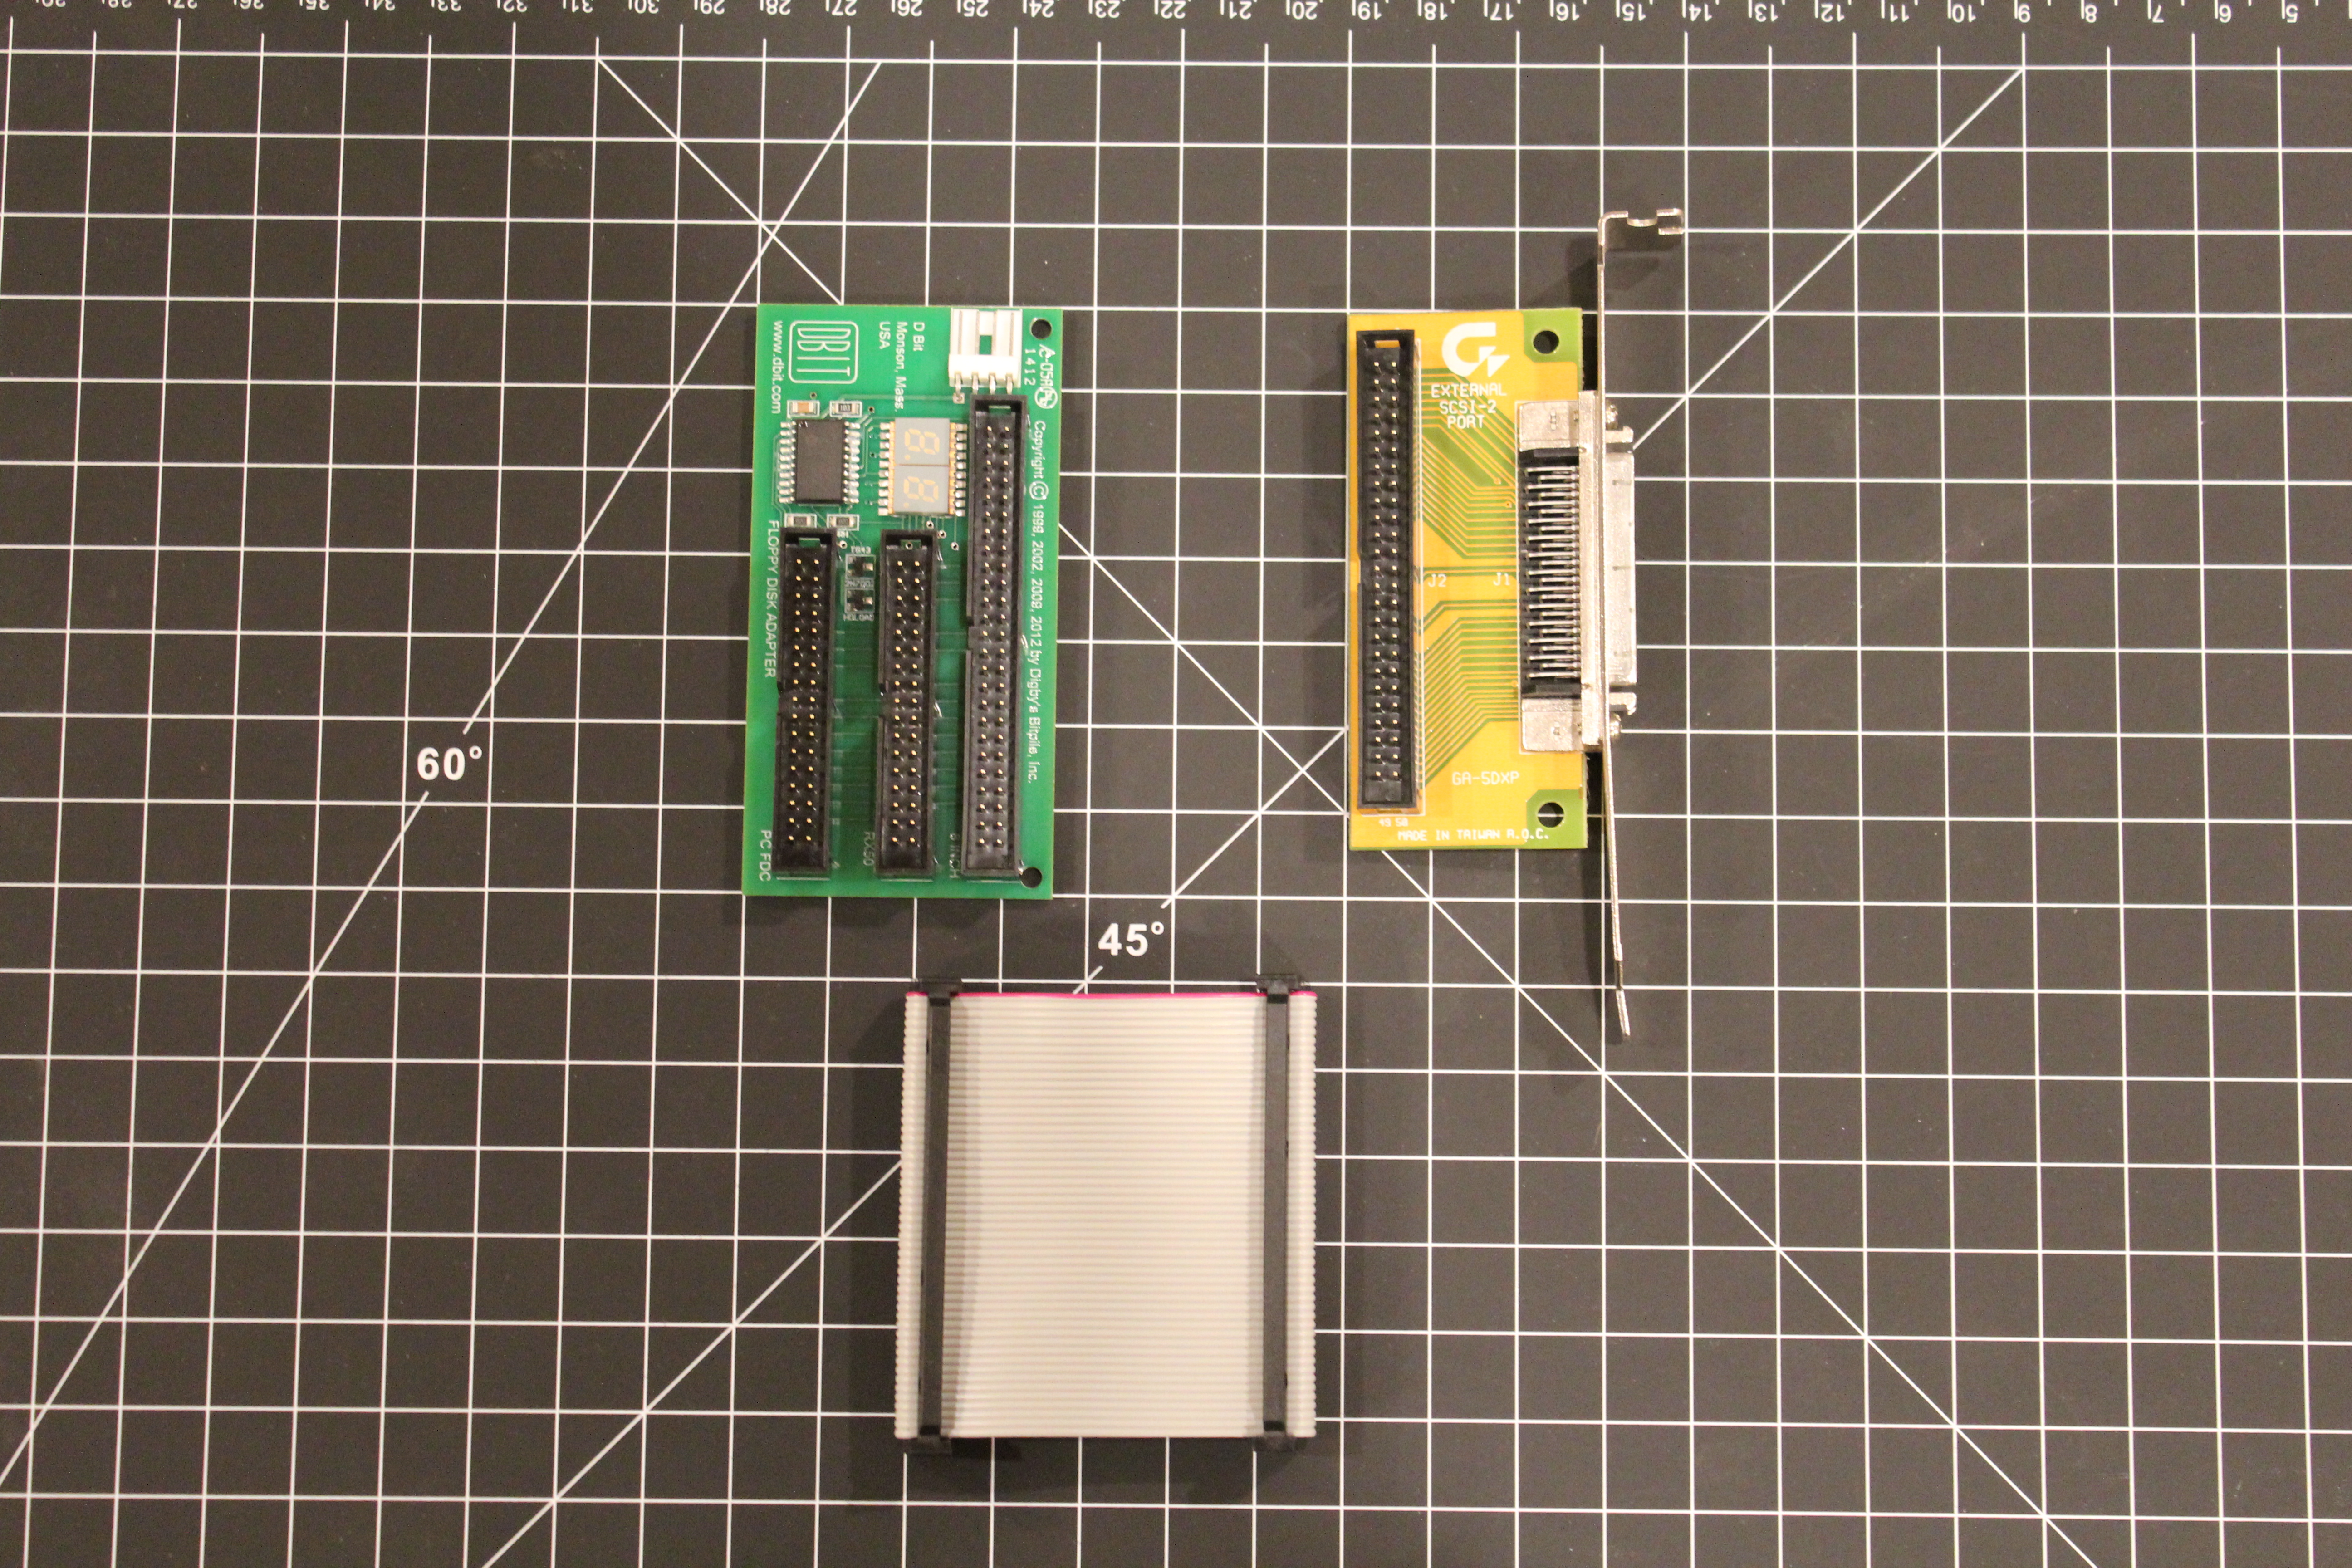
In essence FDADAP is an adapter to allow the use of 8” drives with a more modern FDC. Now that we know what the FDADAP does let us take a quick look at the card –
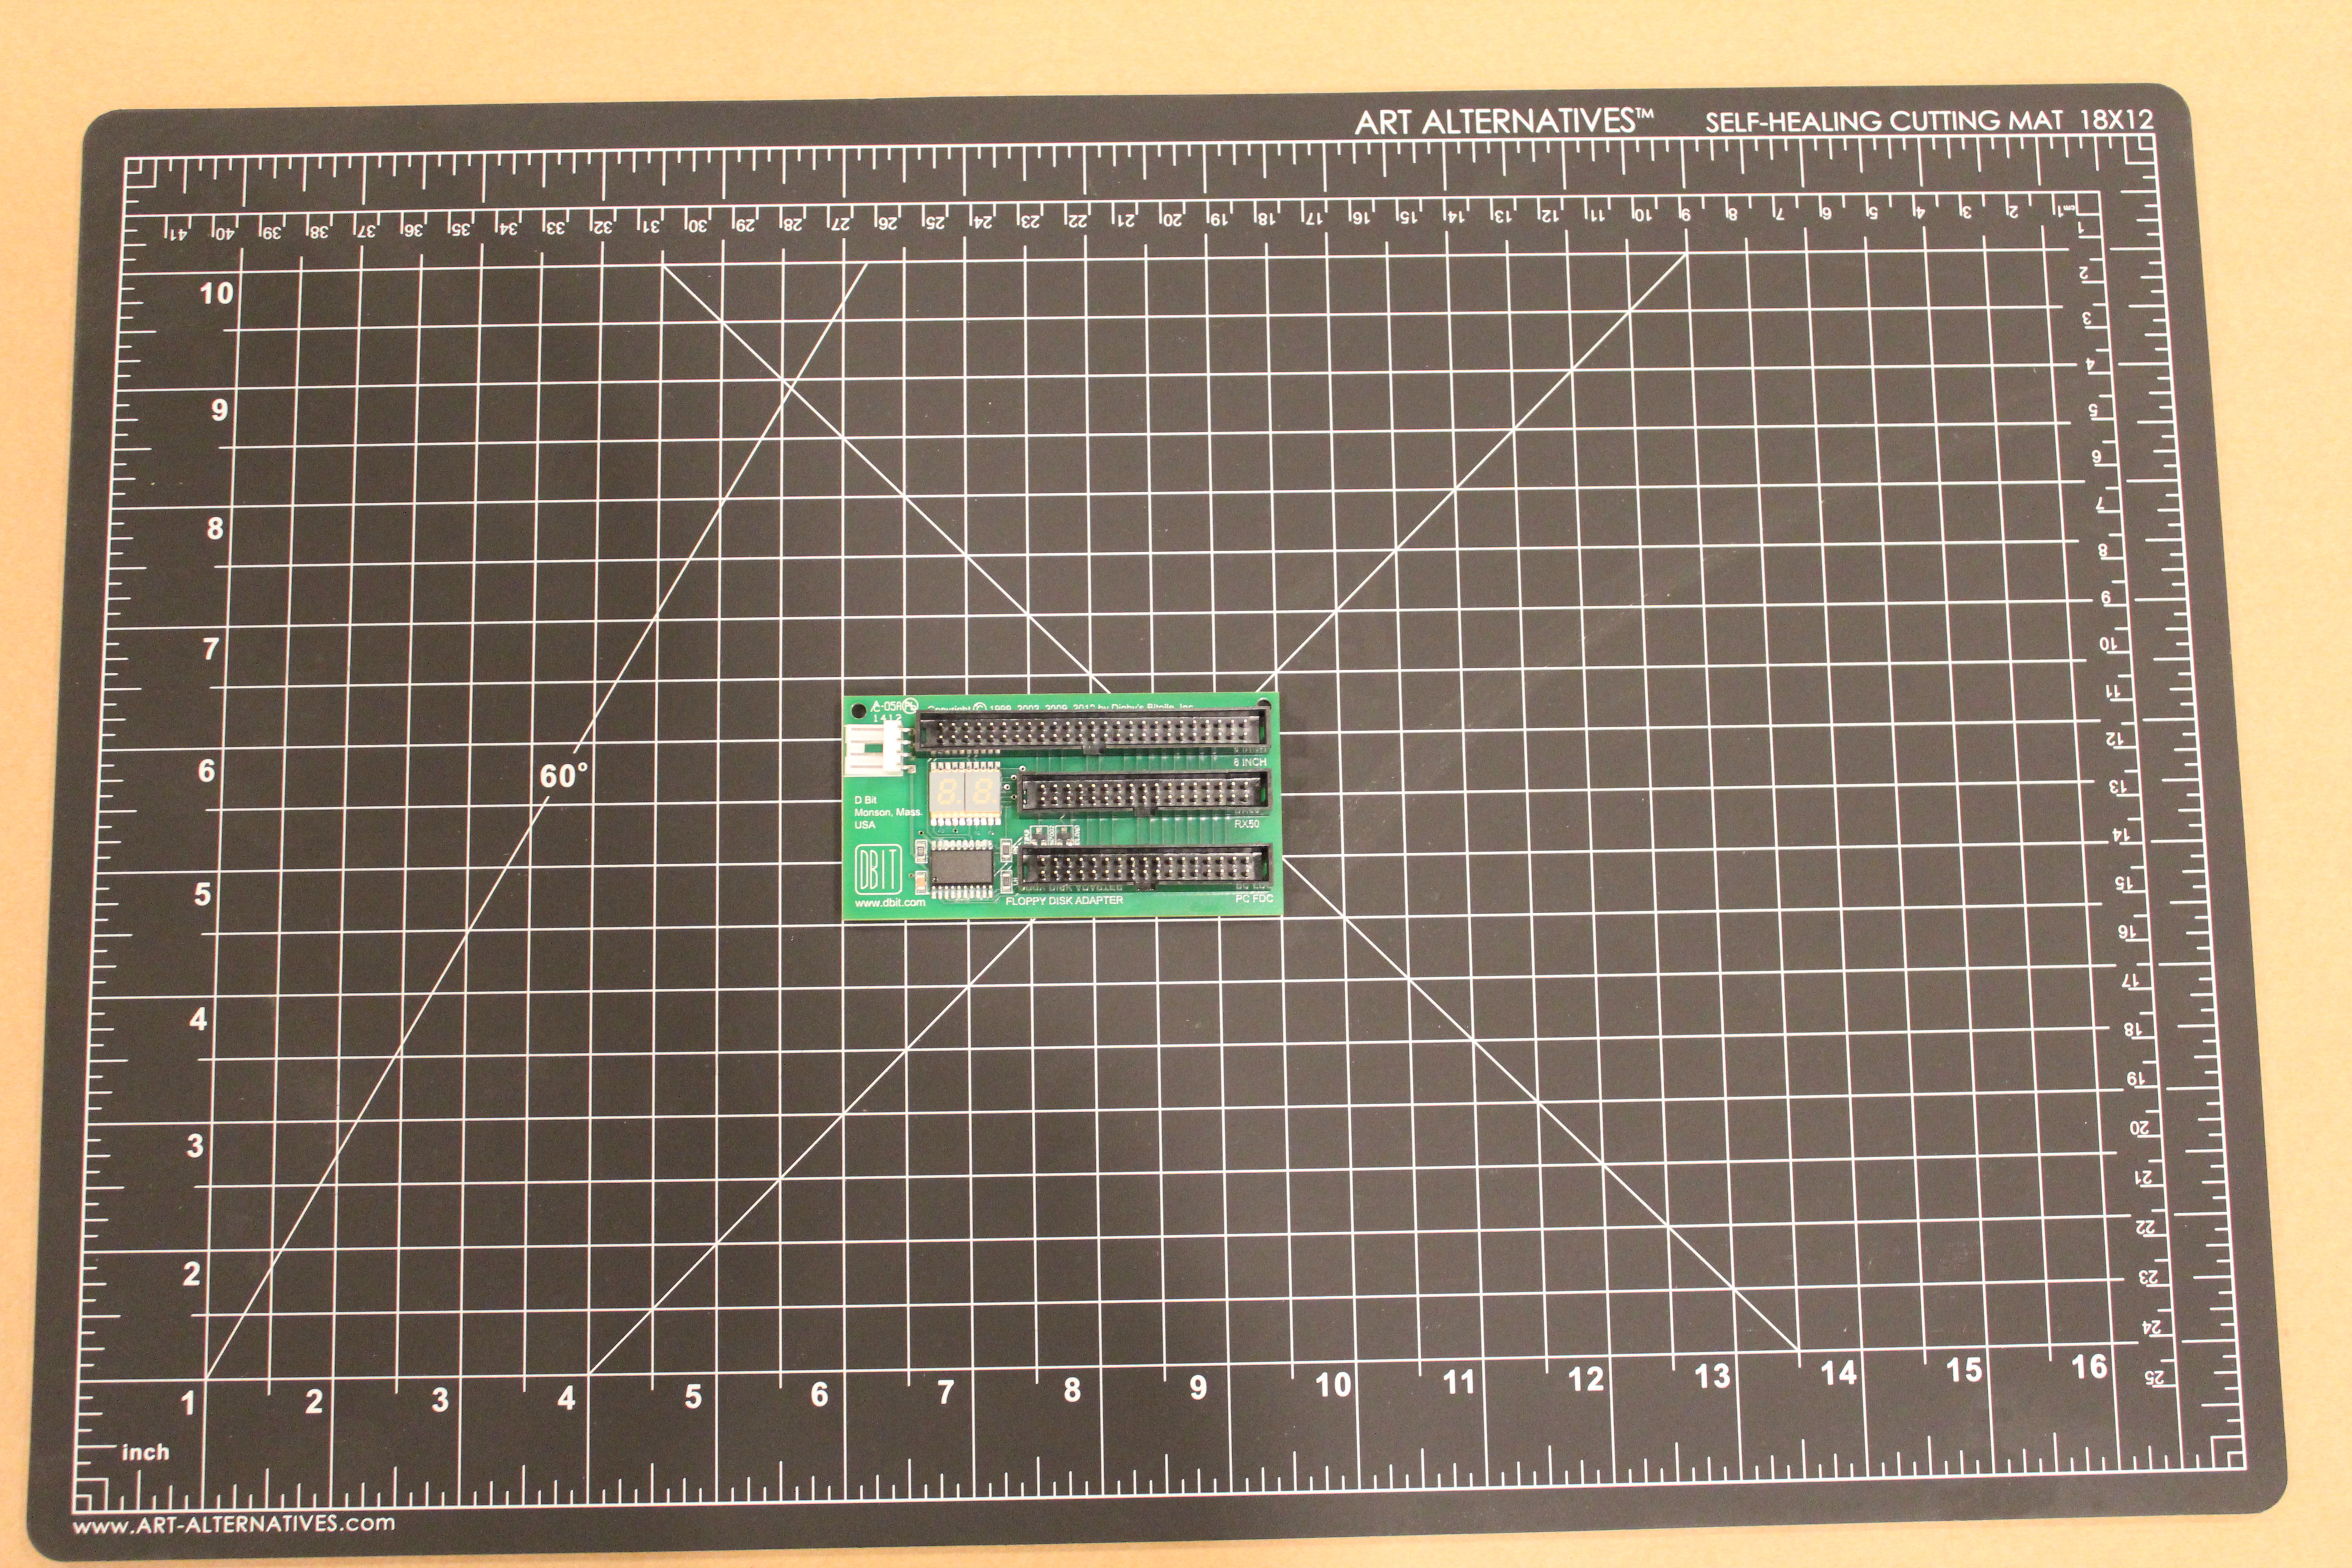 | 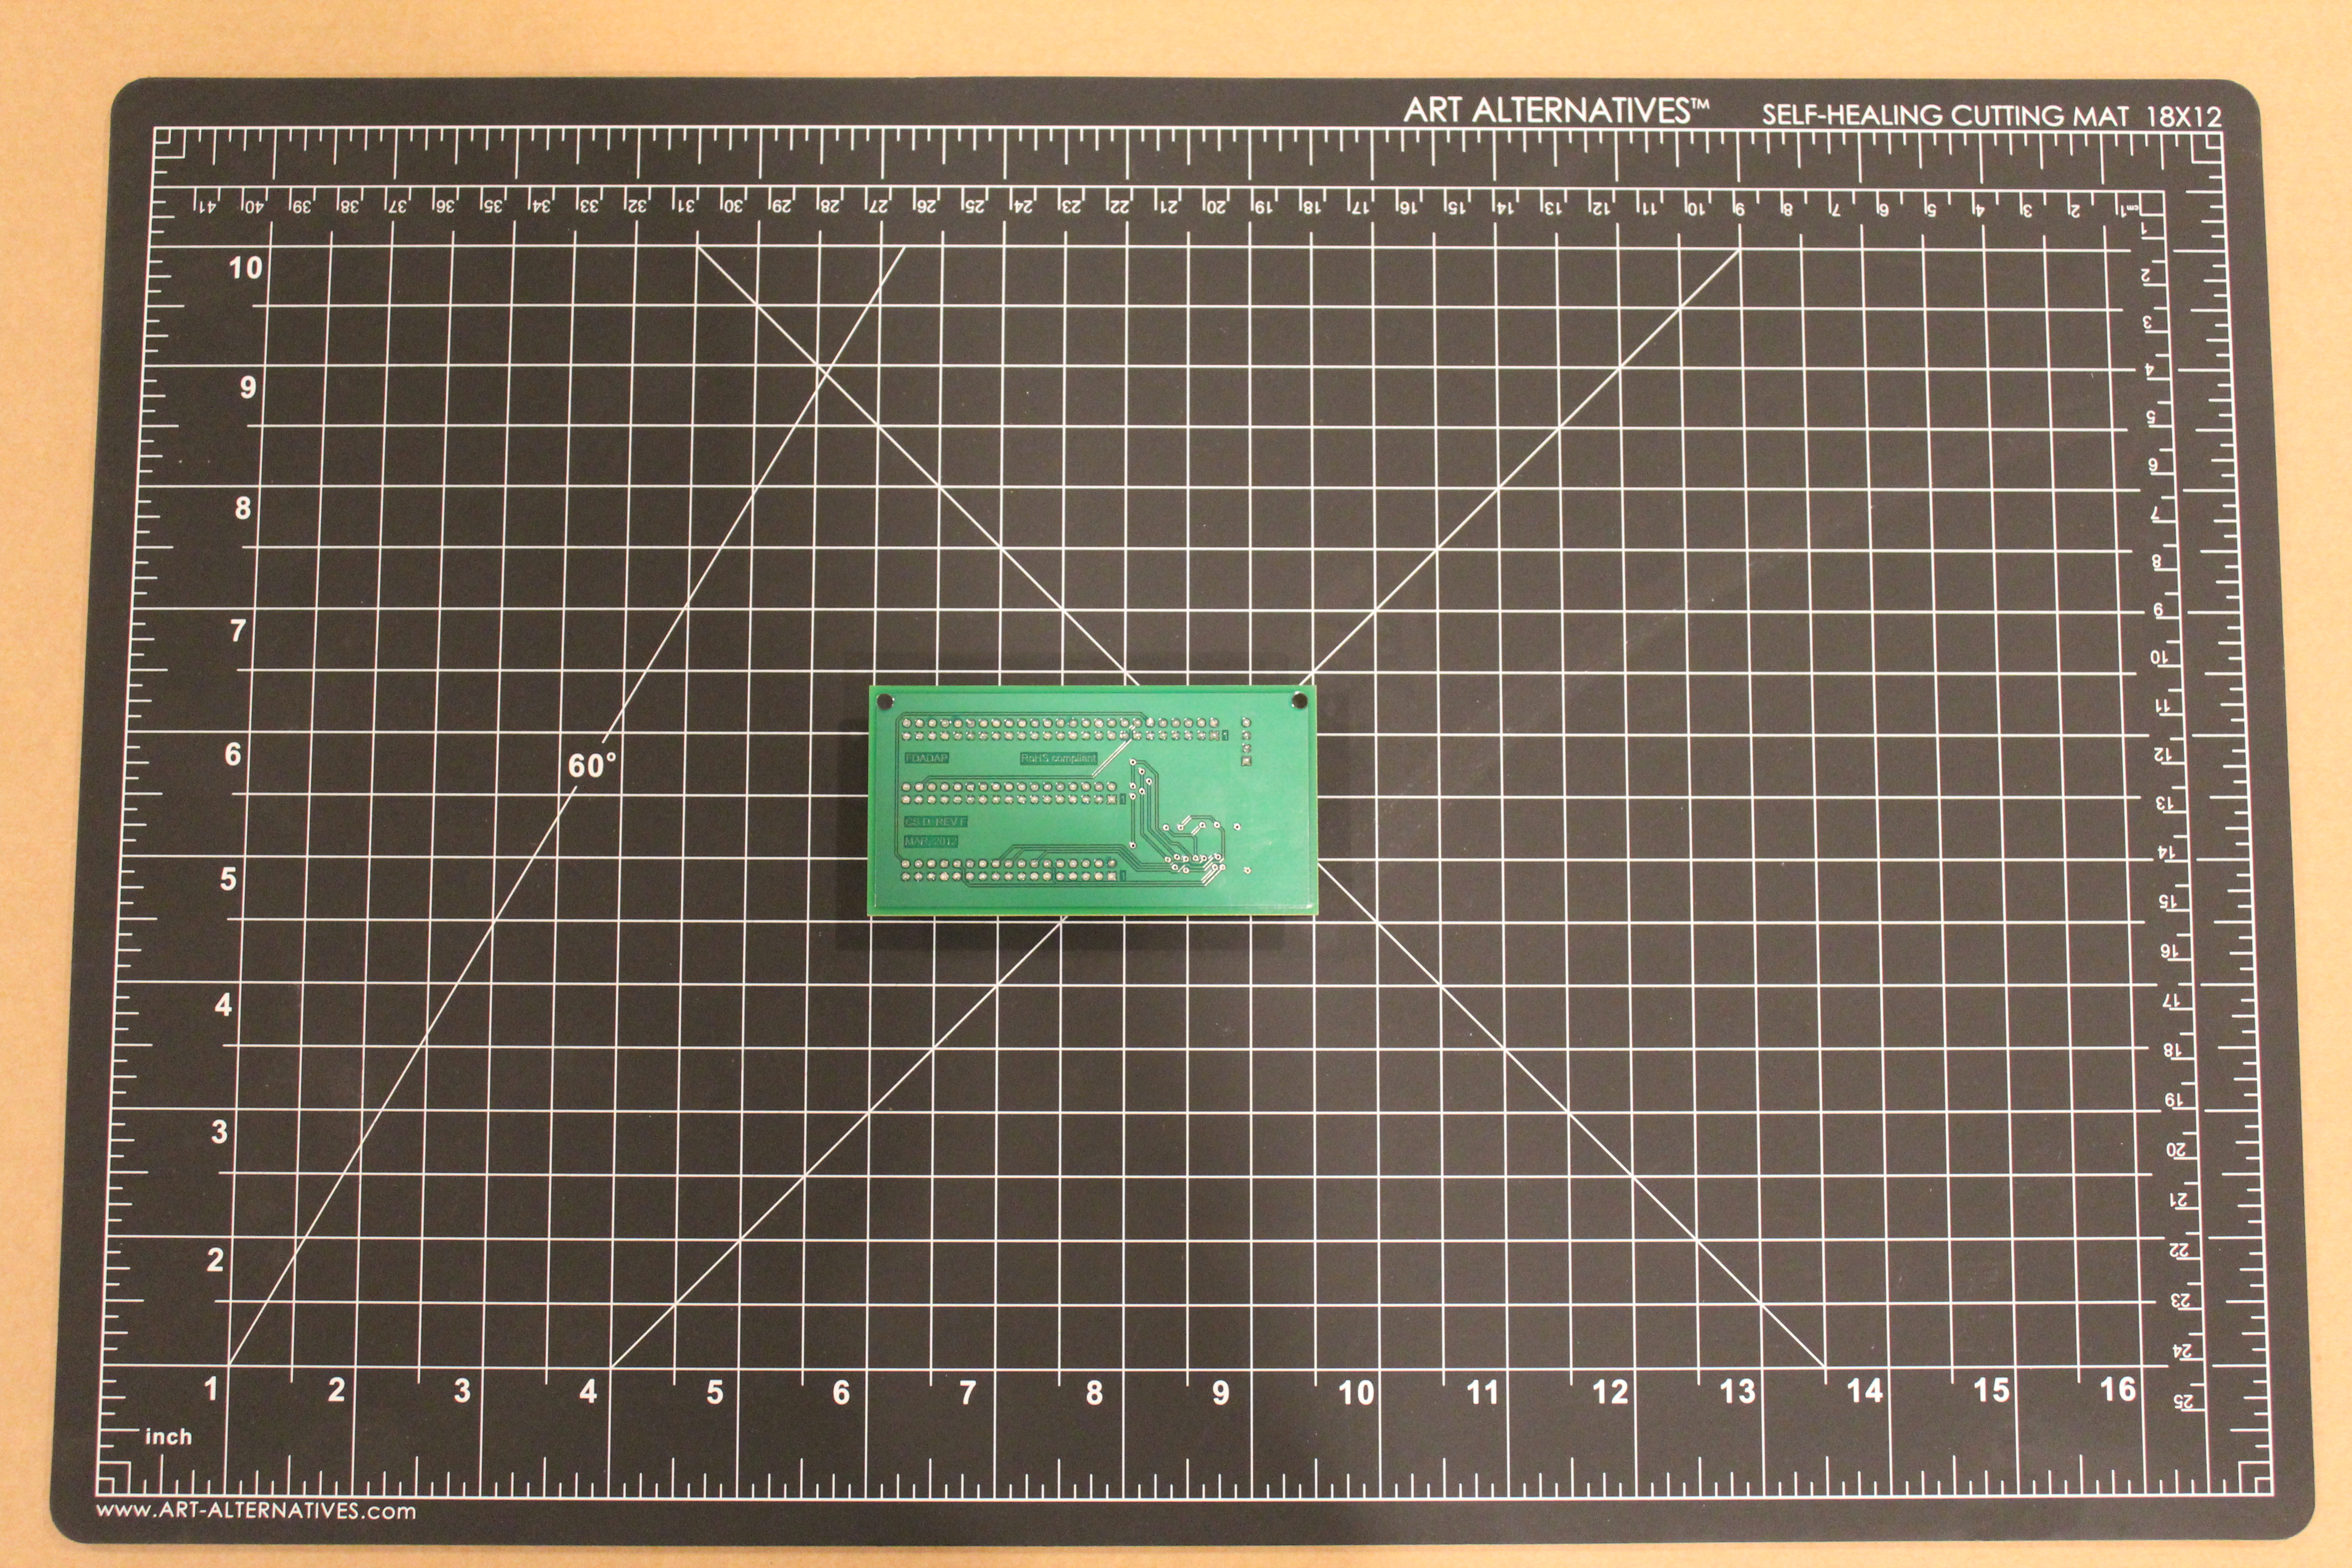 |
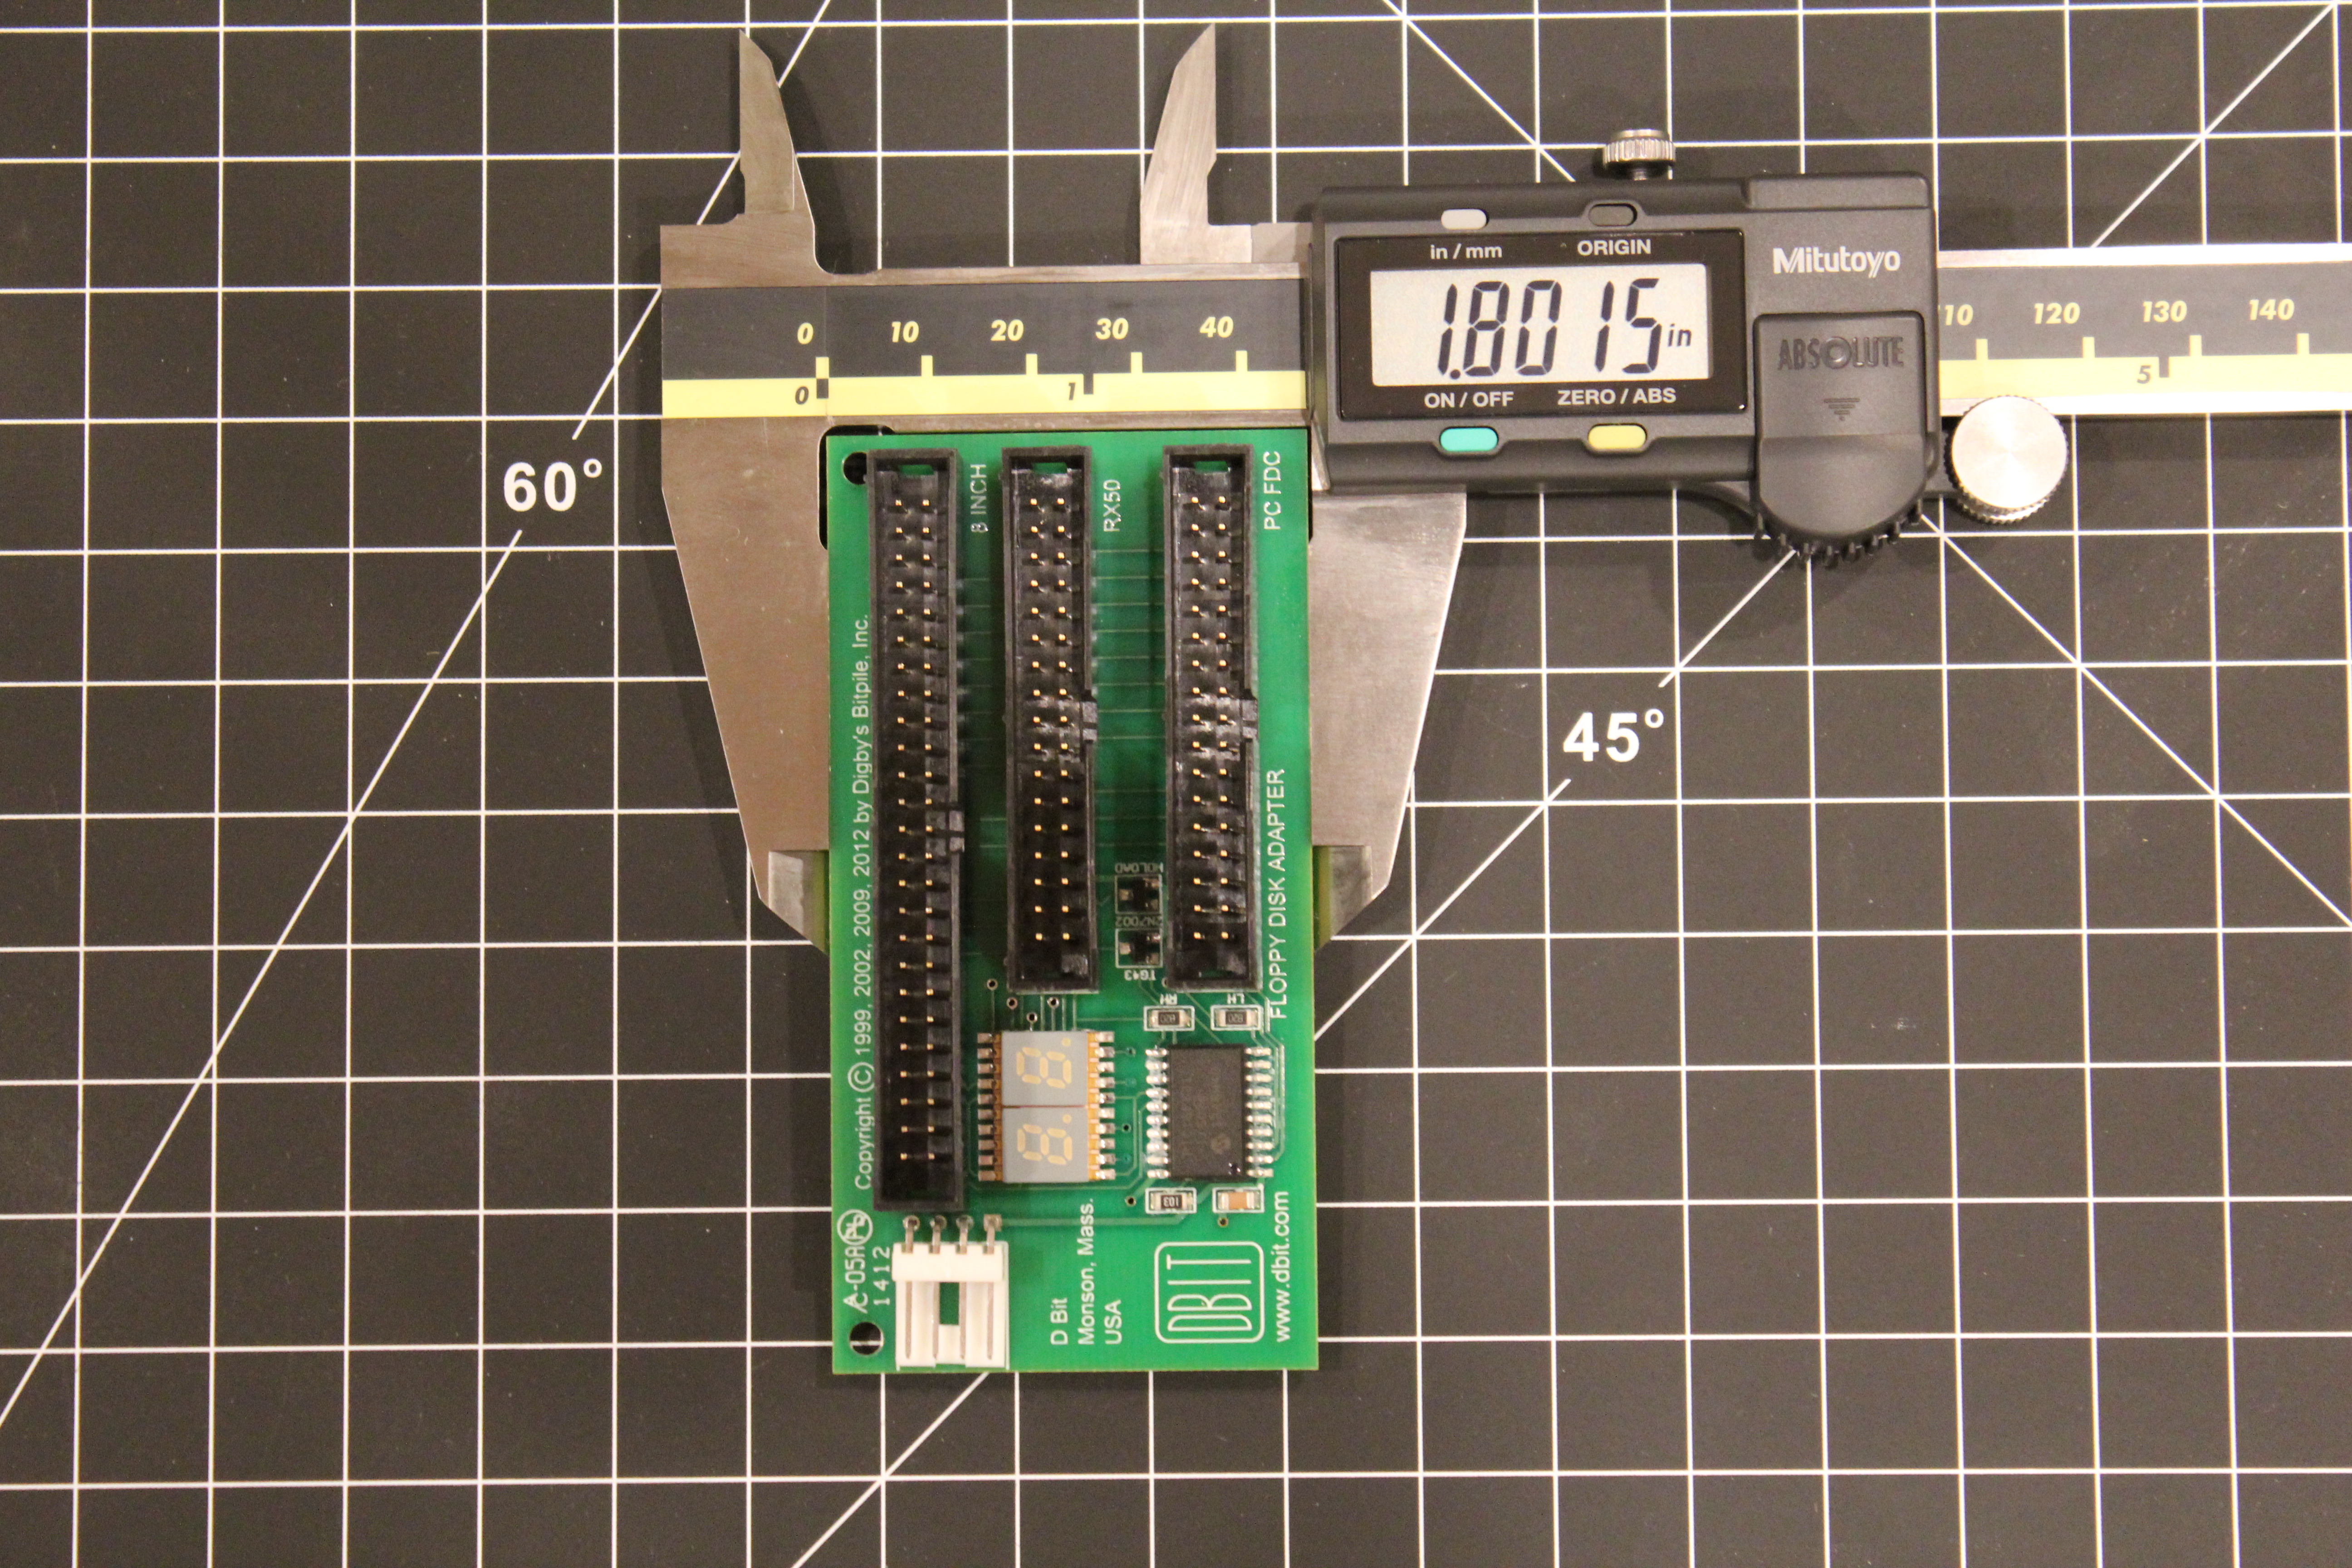
And for the curious some measurements:
 | 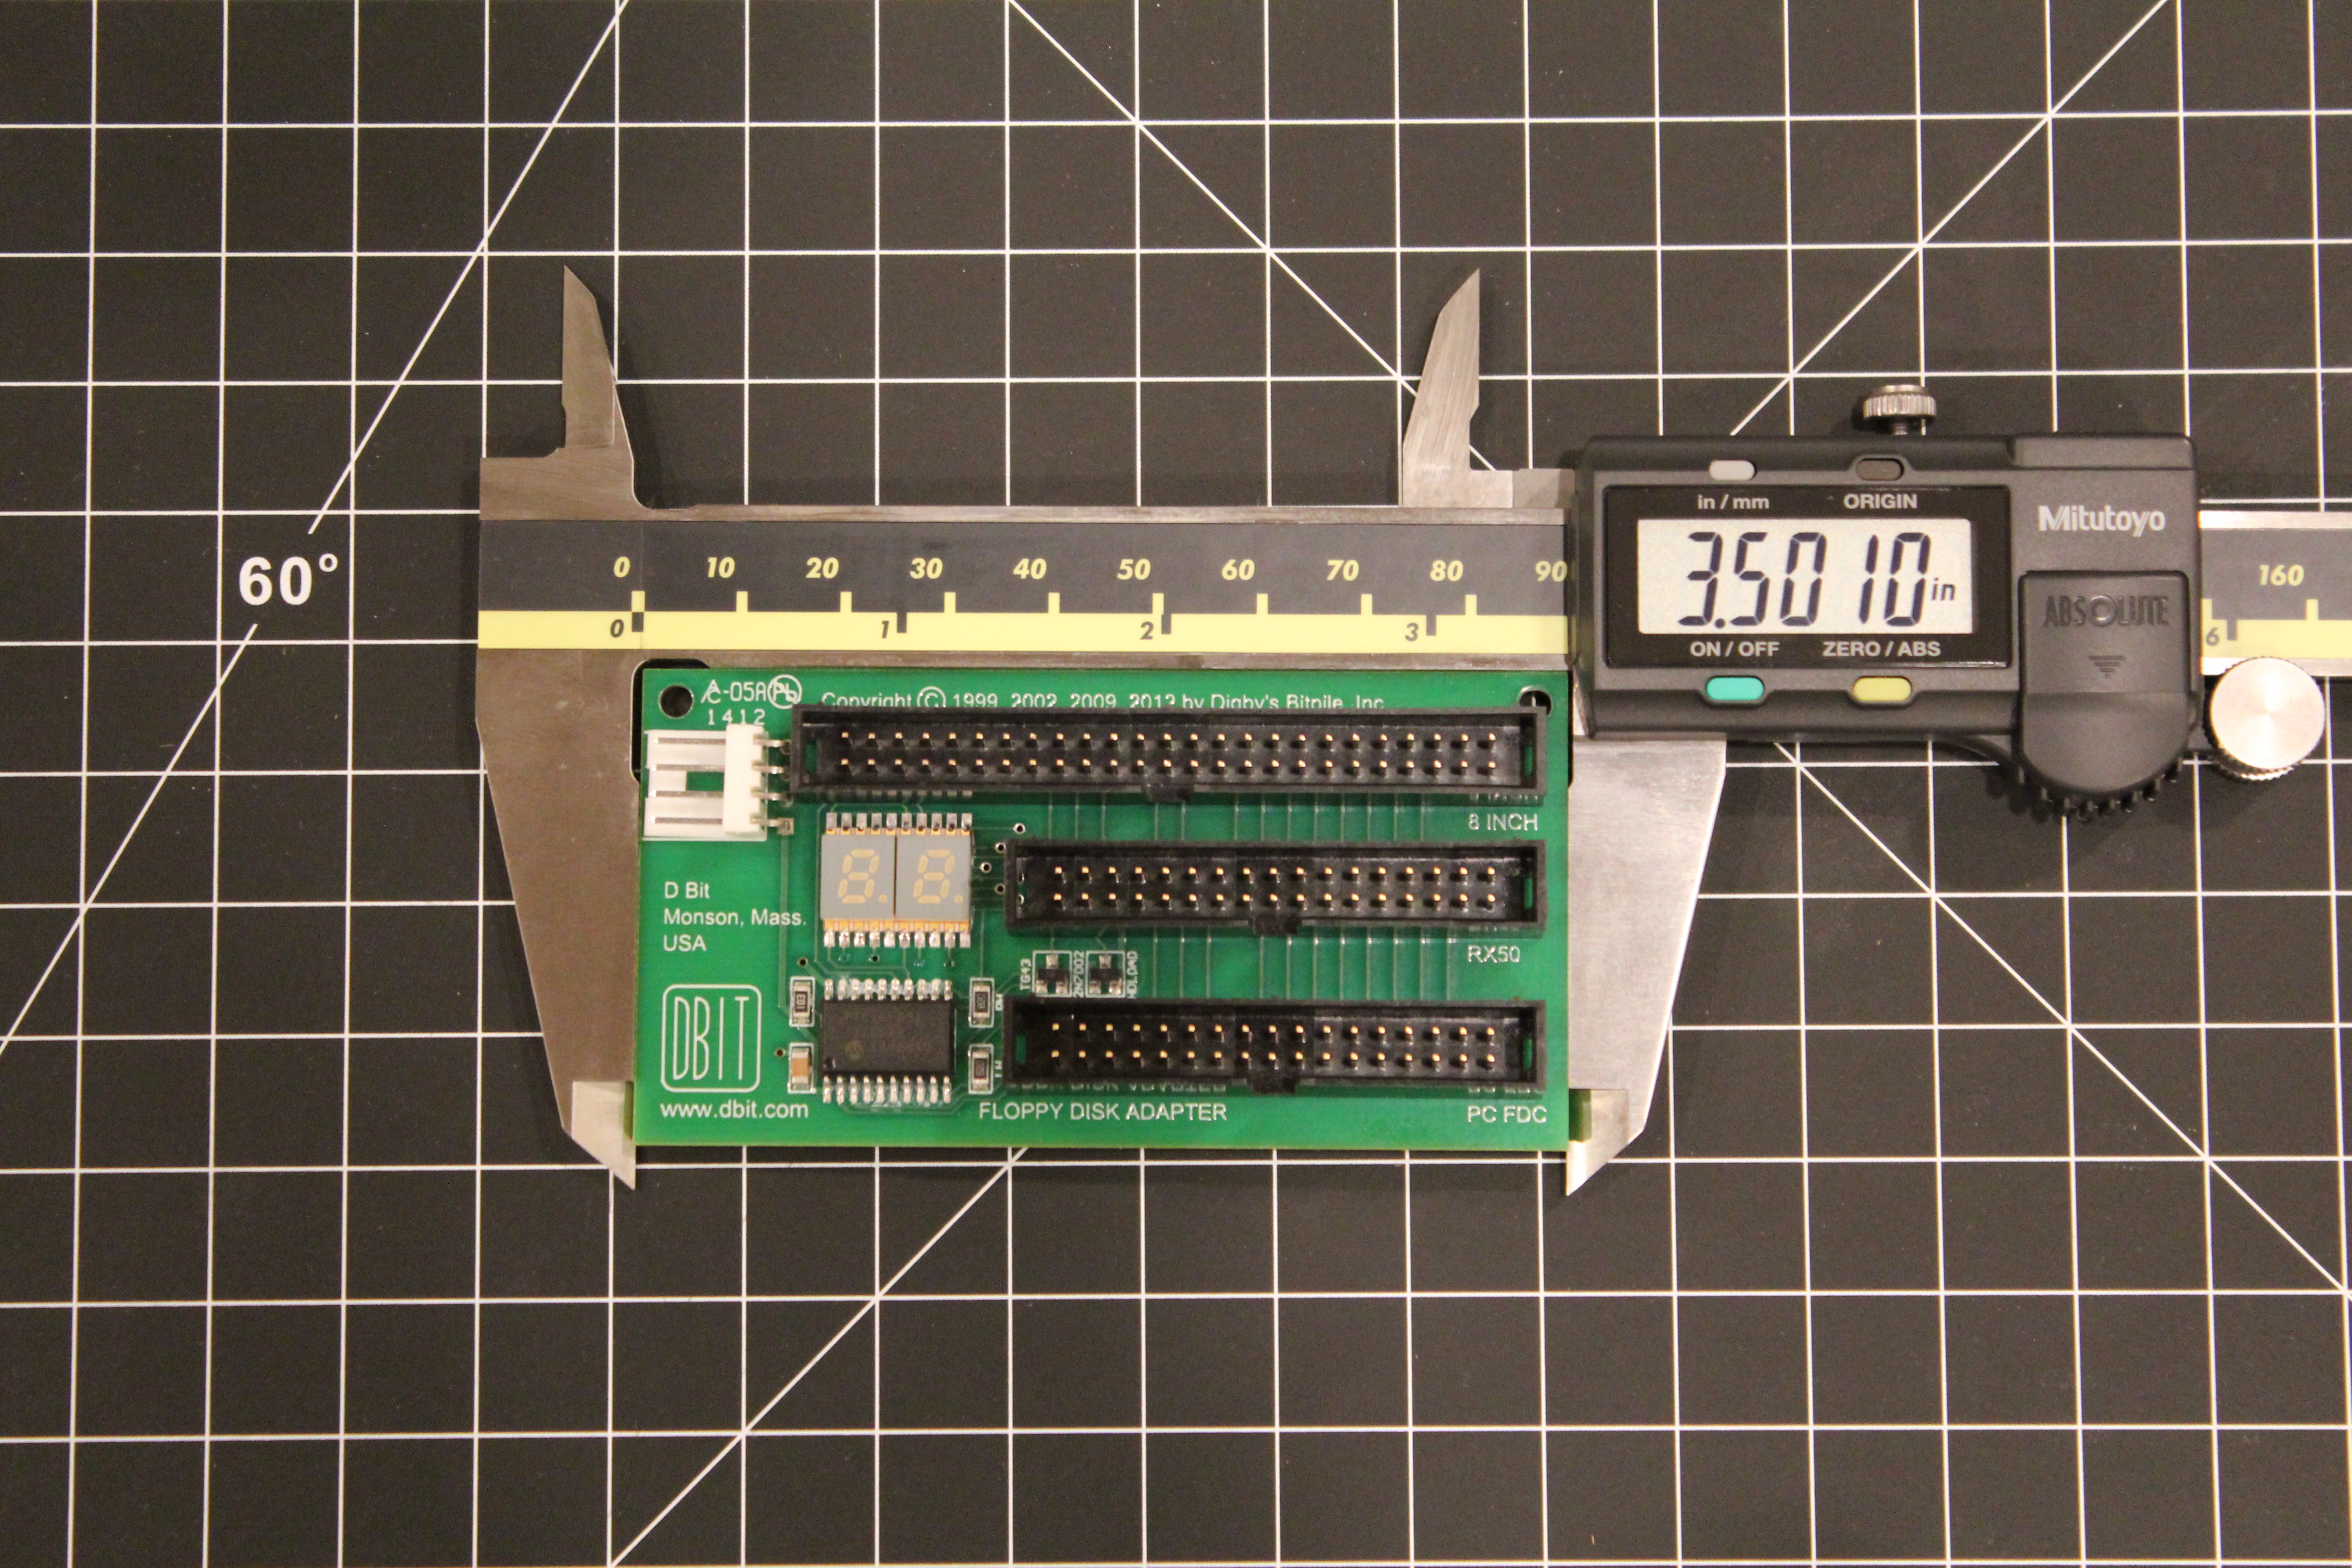 |
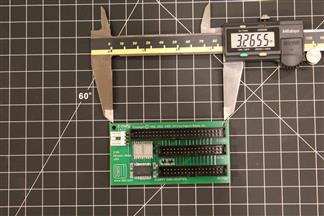 | |
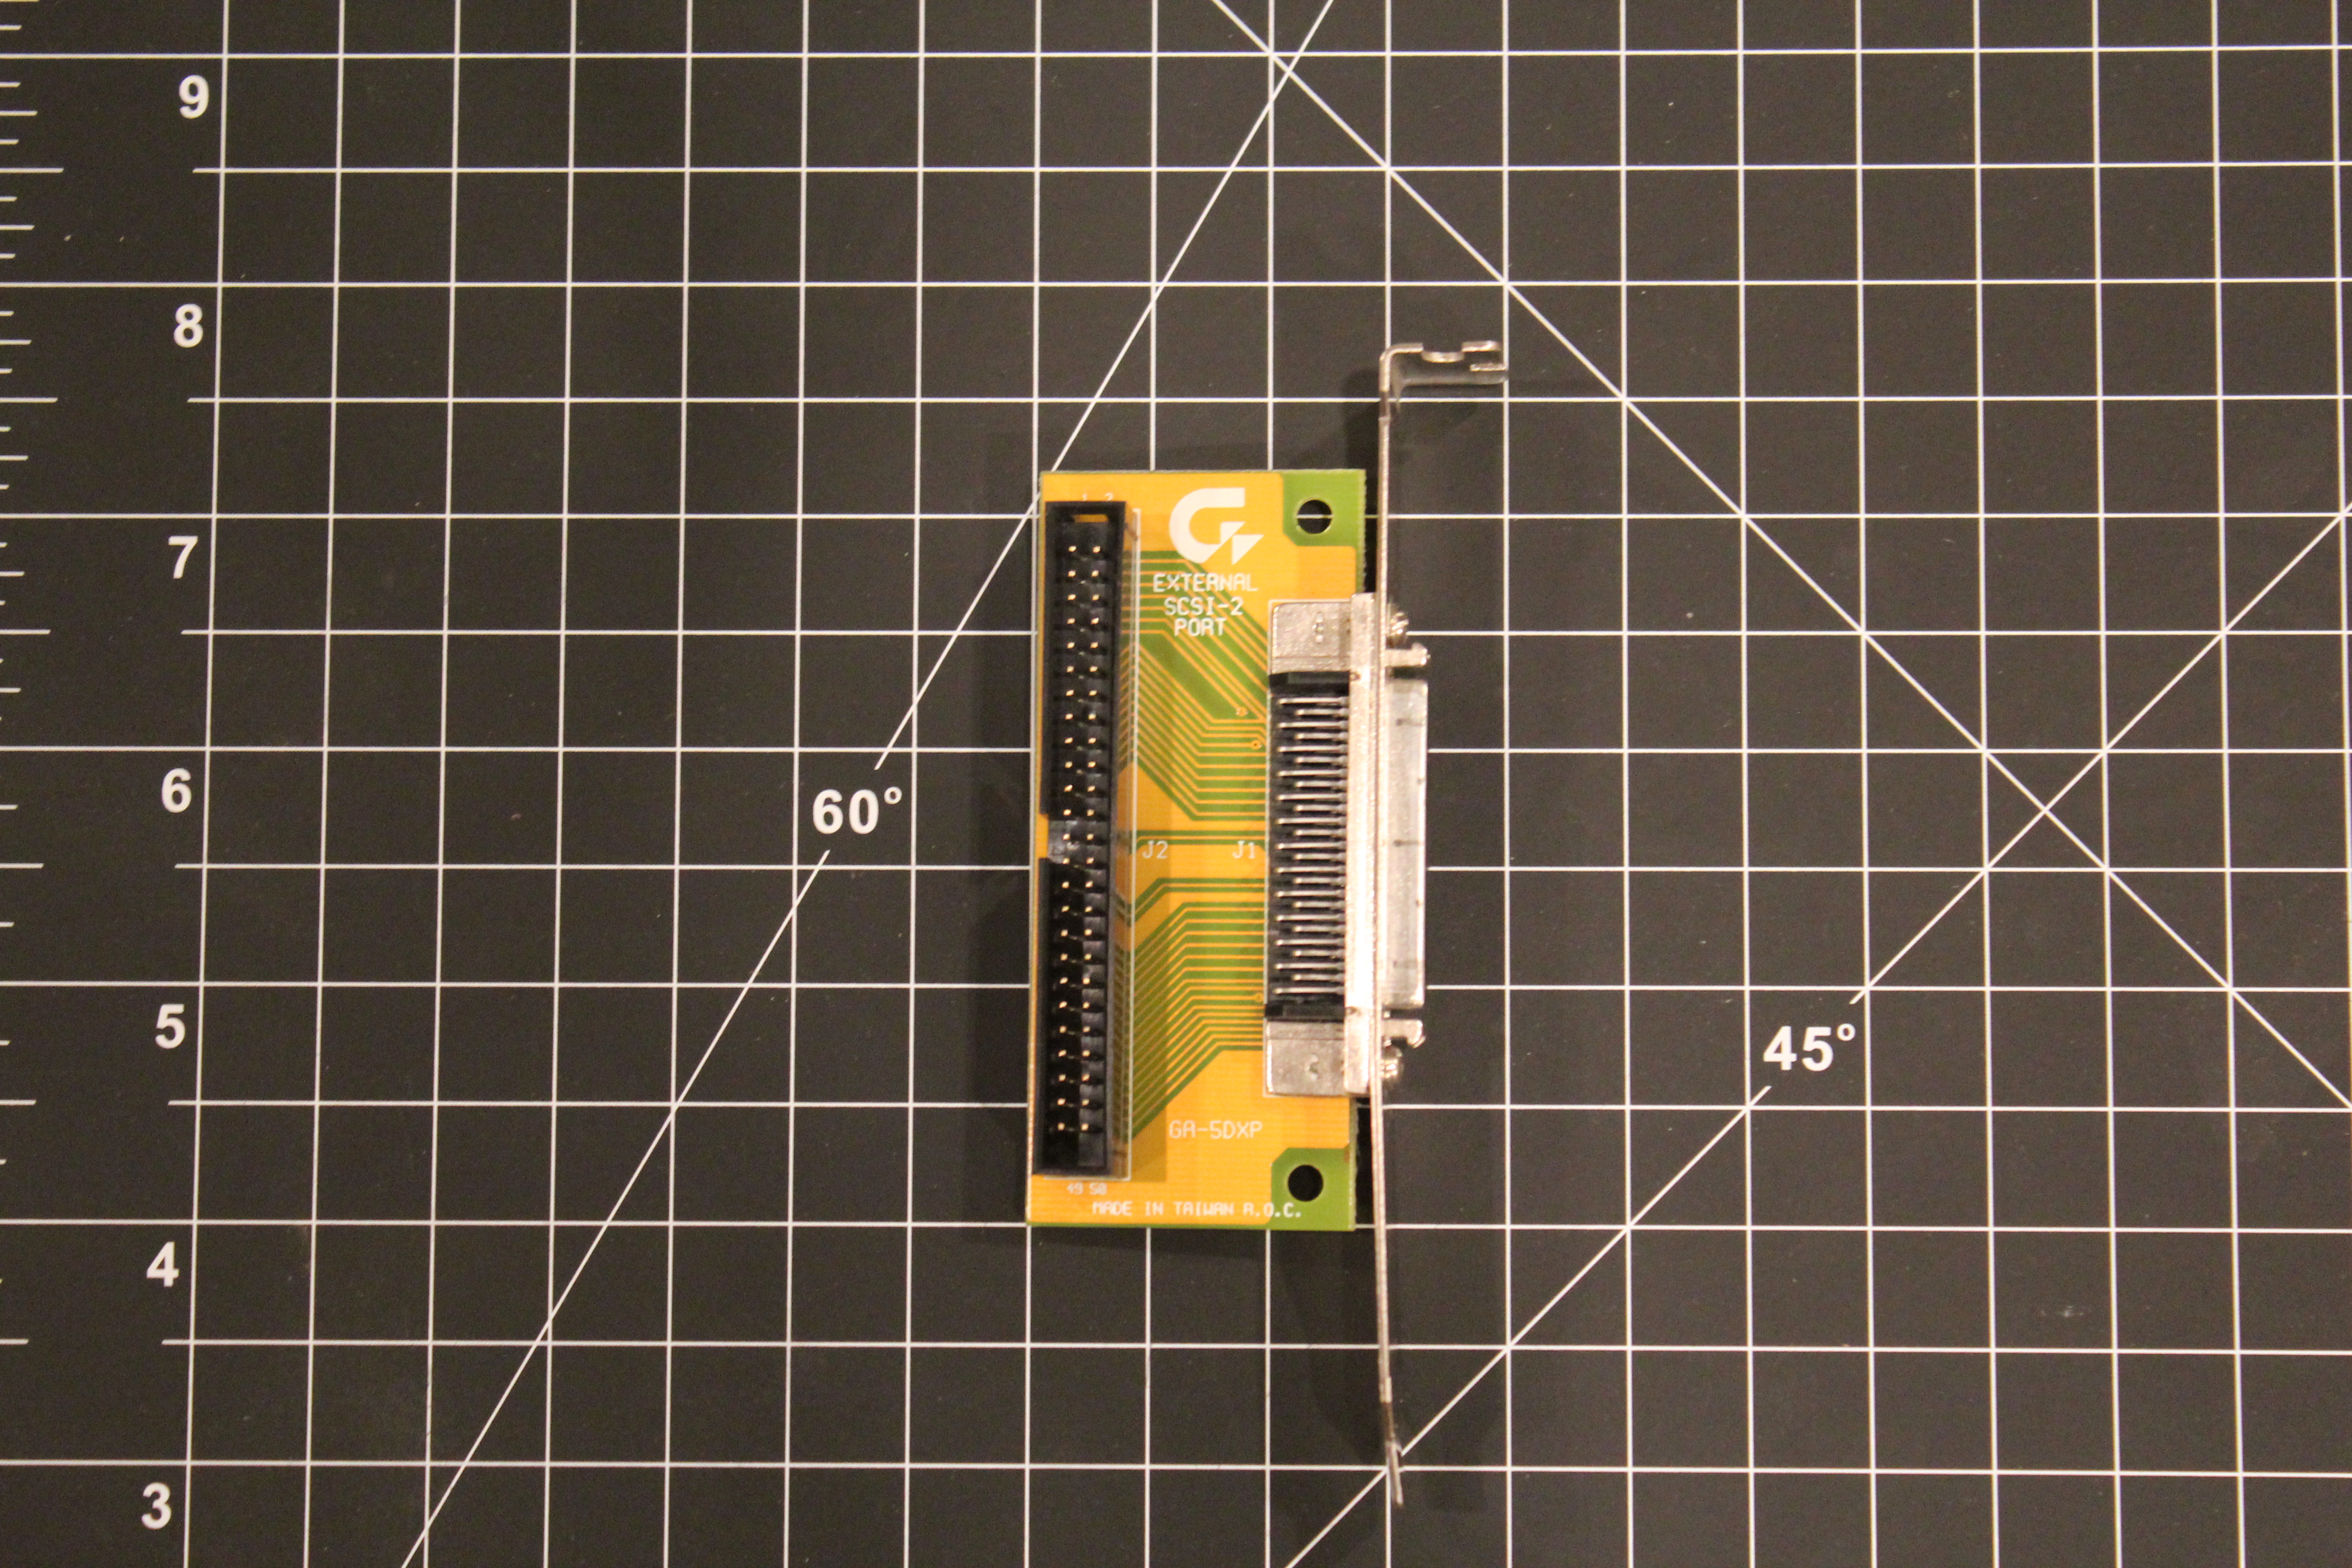 |  |
 |  |
Next I needed a way to connect the FDADAP to the HD50 adapter. I crimped a small length of 50-pin flat cable to achieve this:
 | 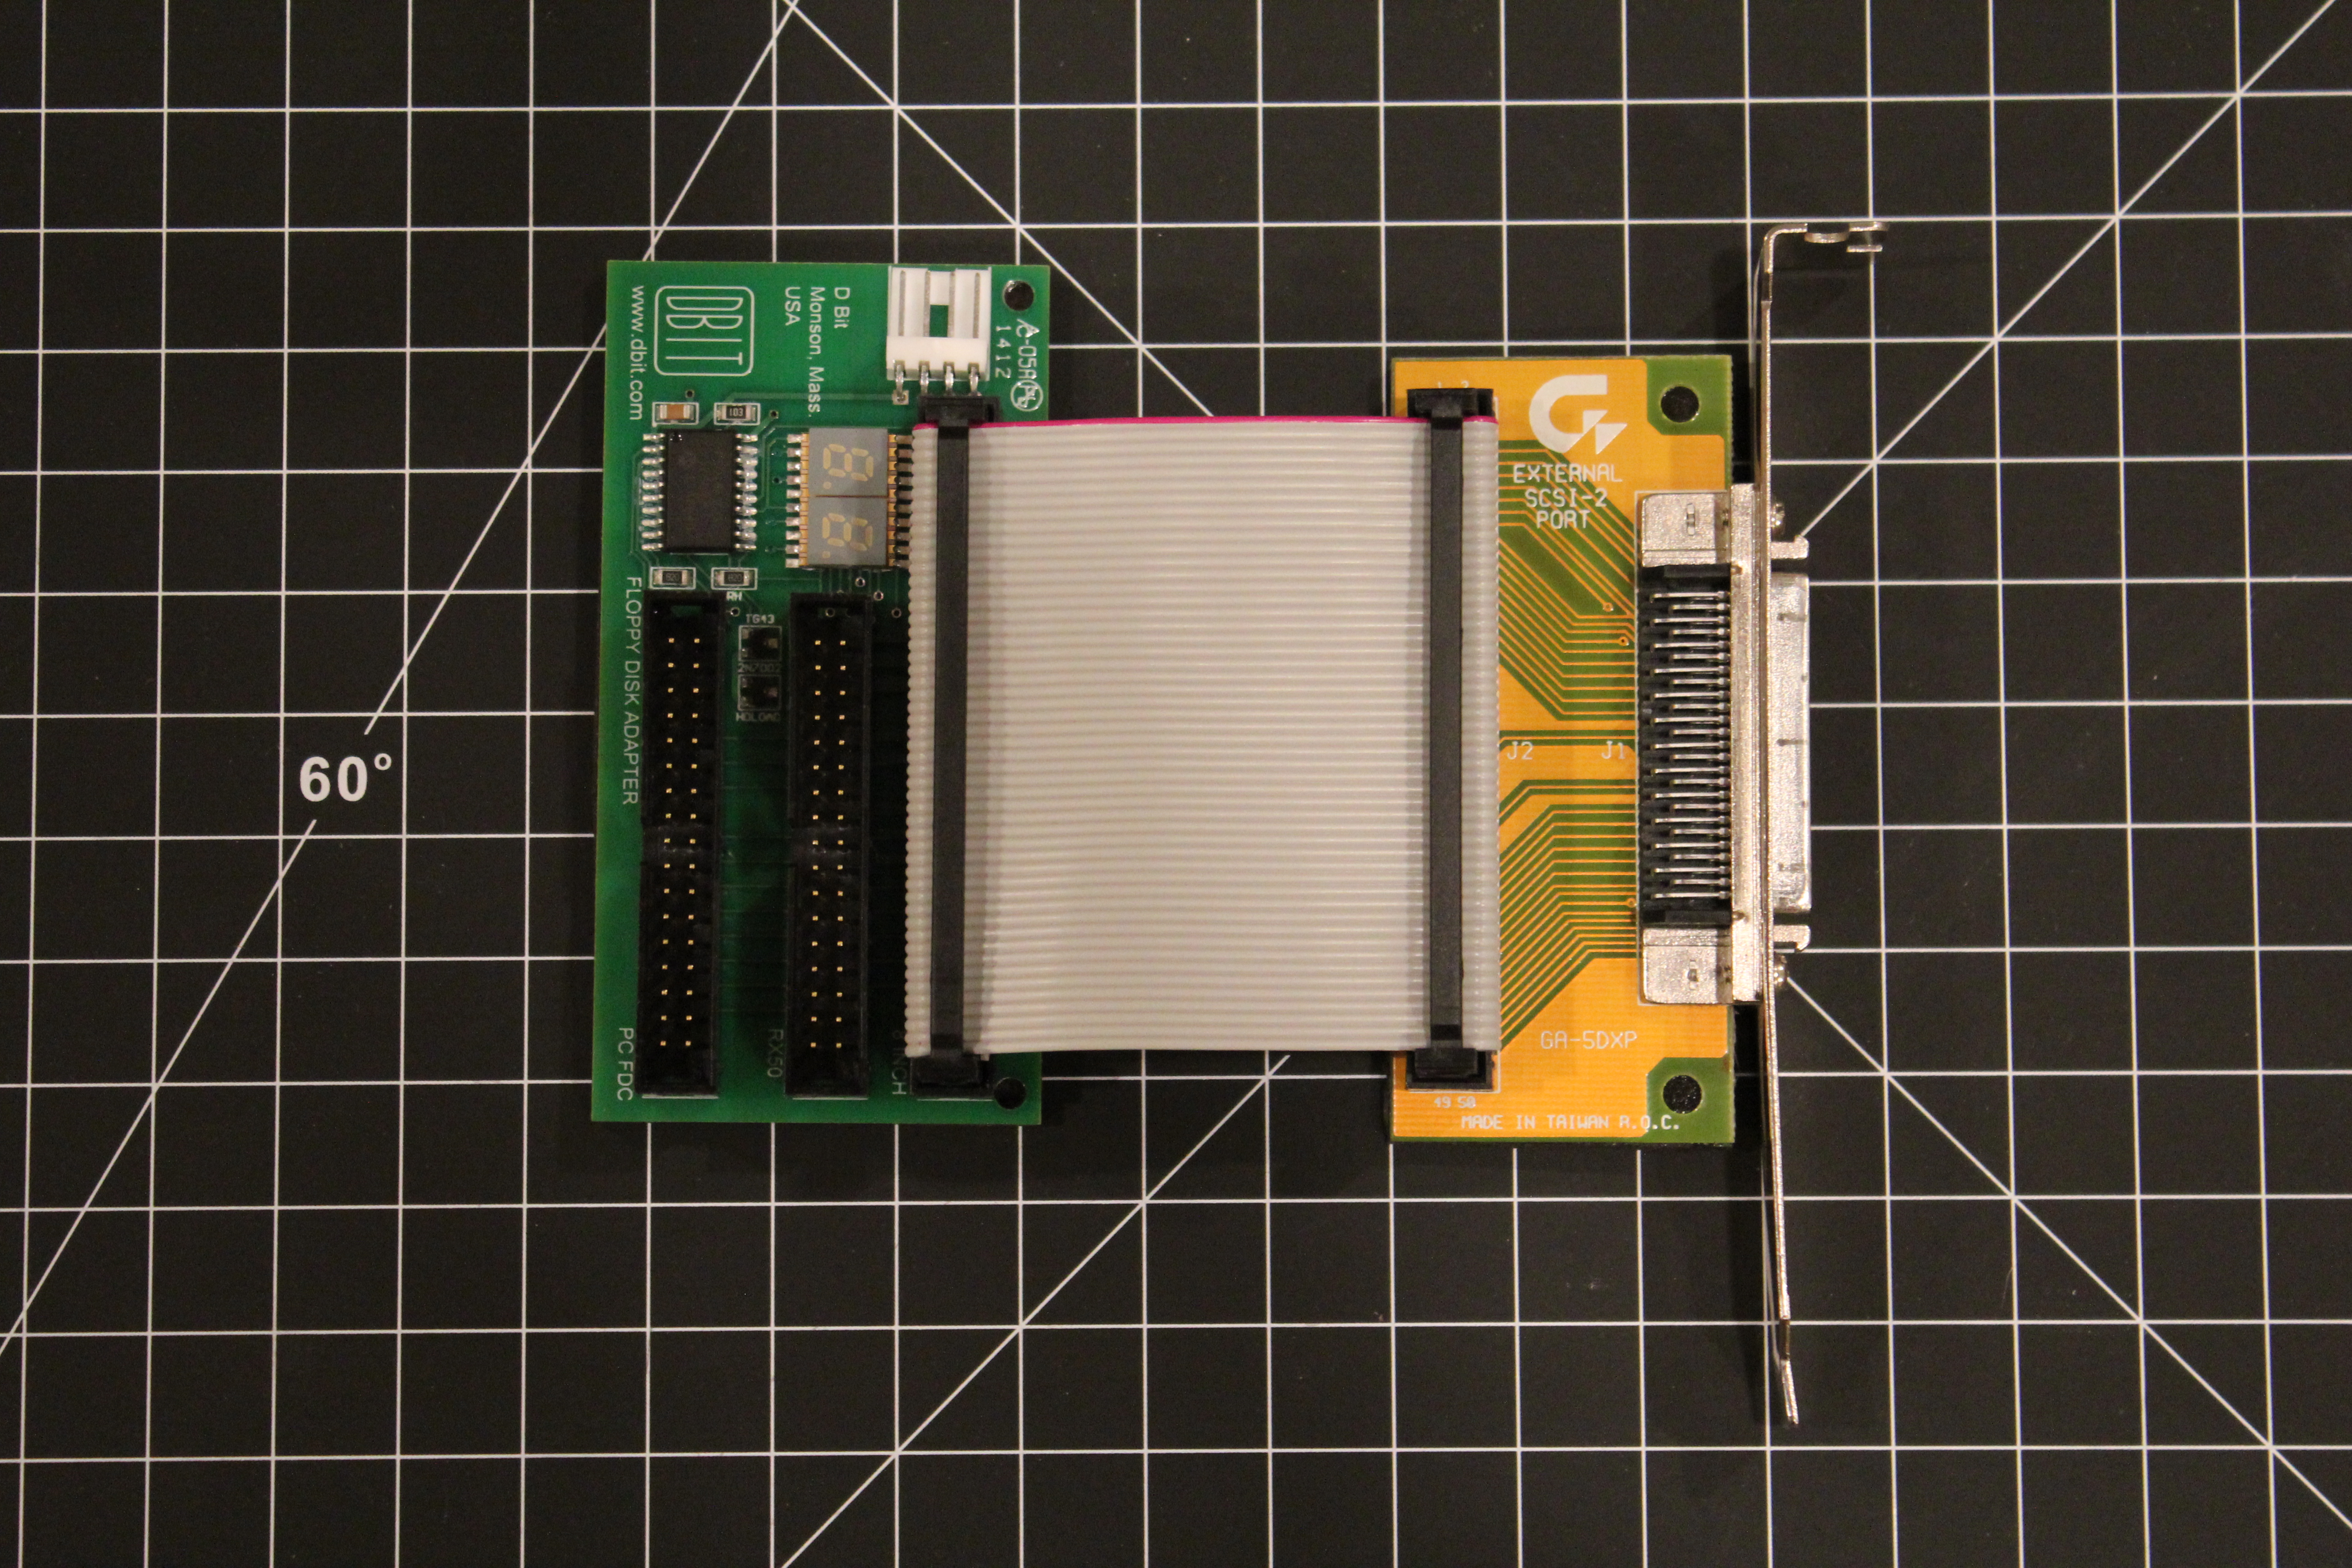 |
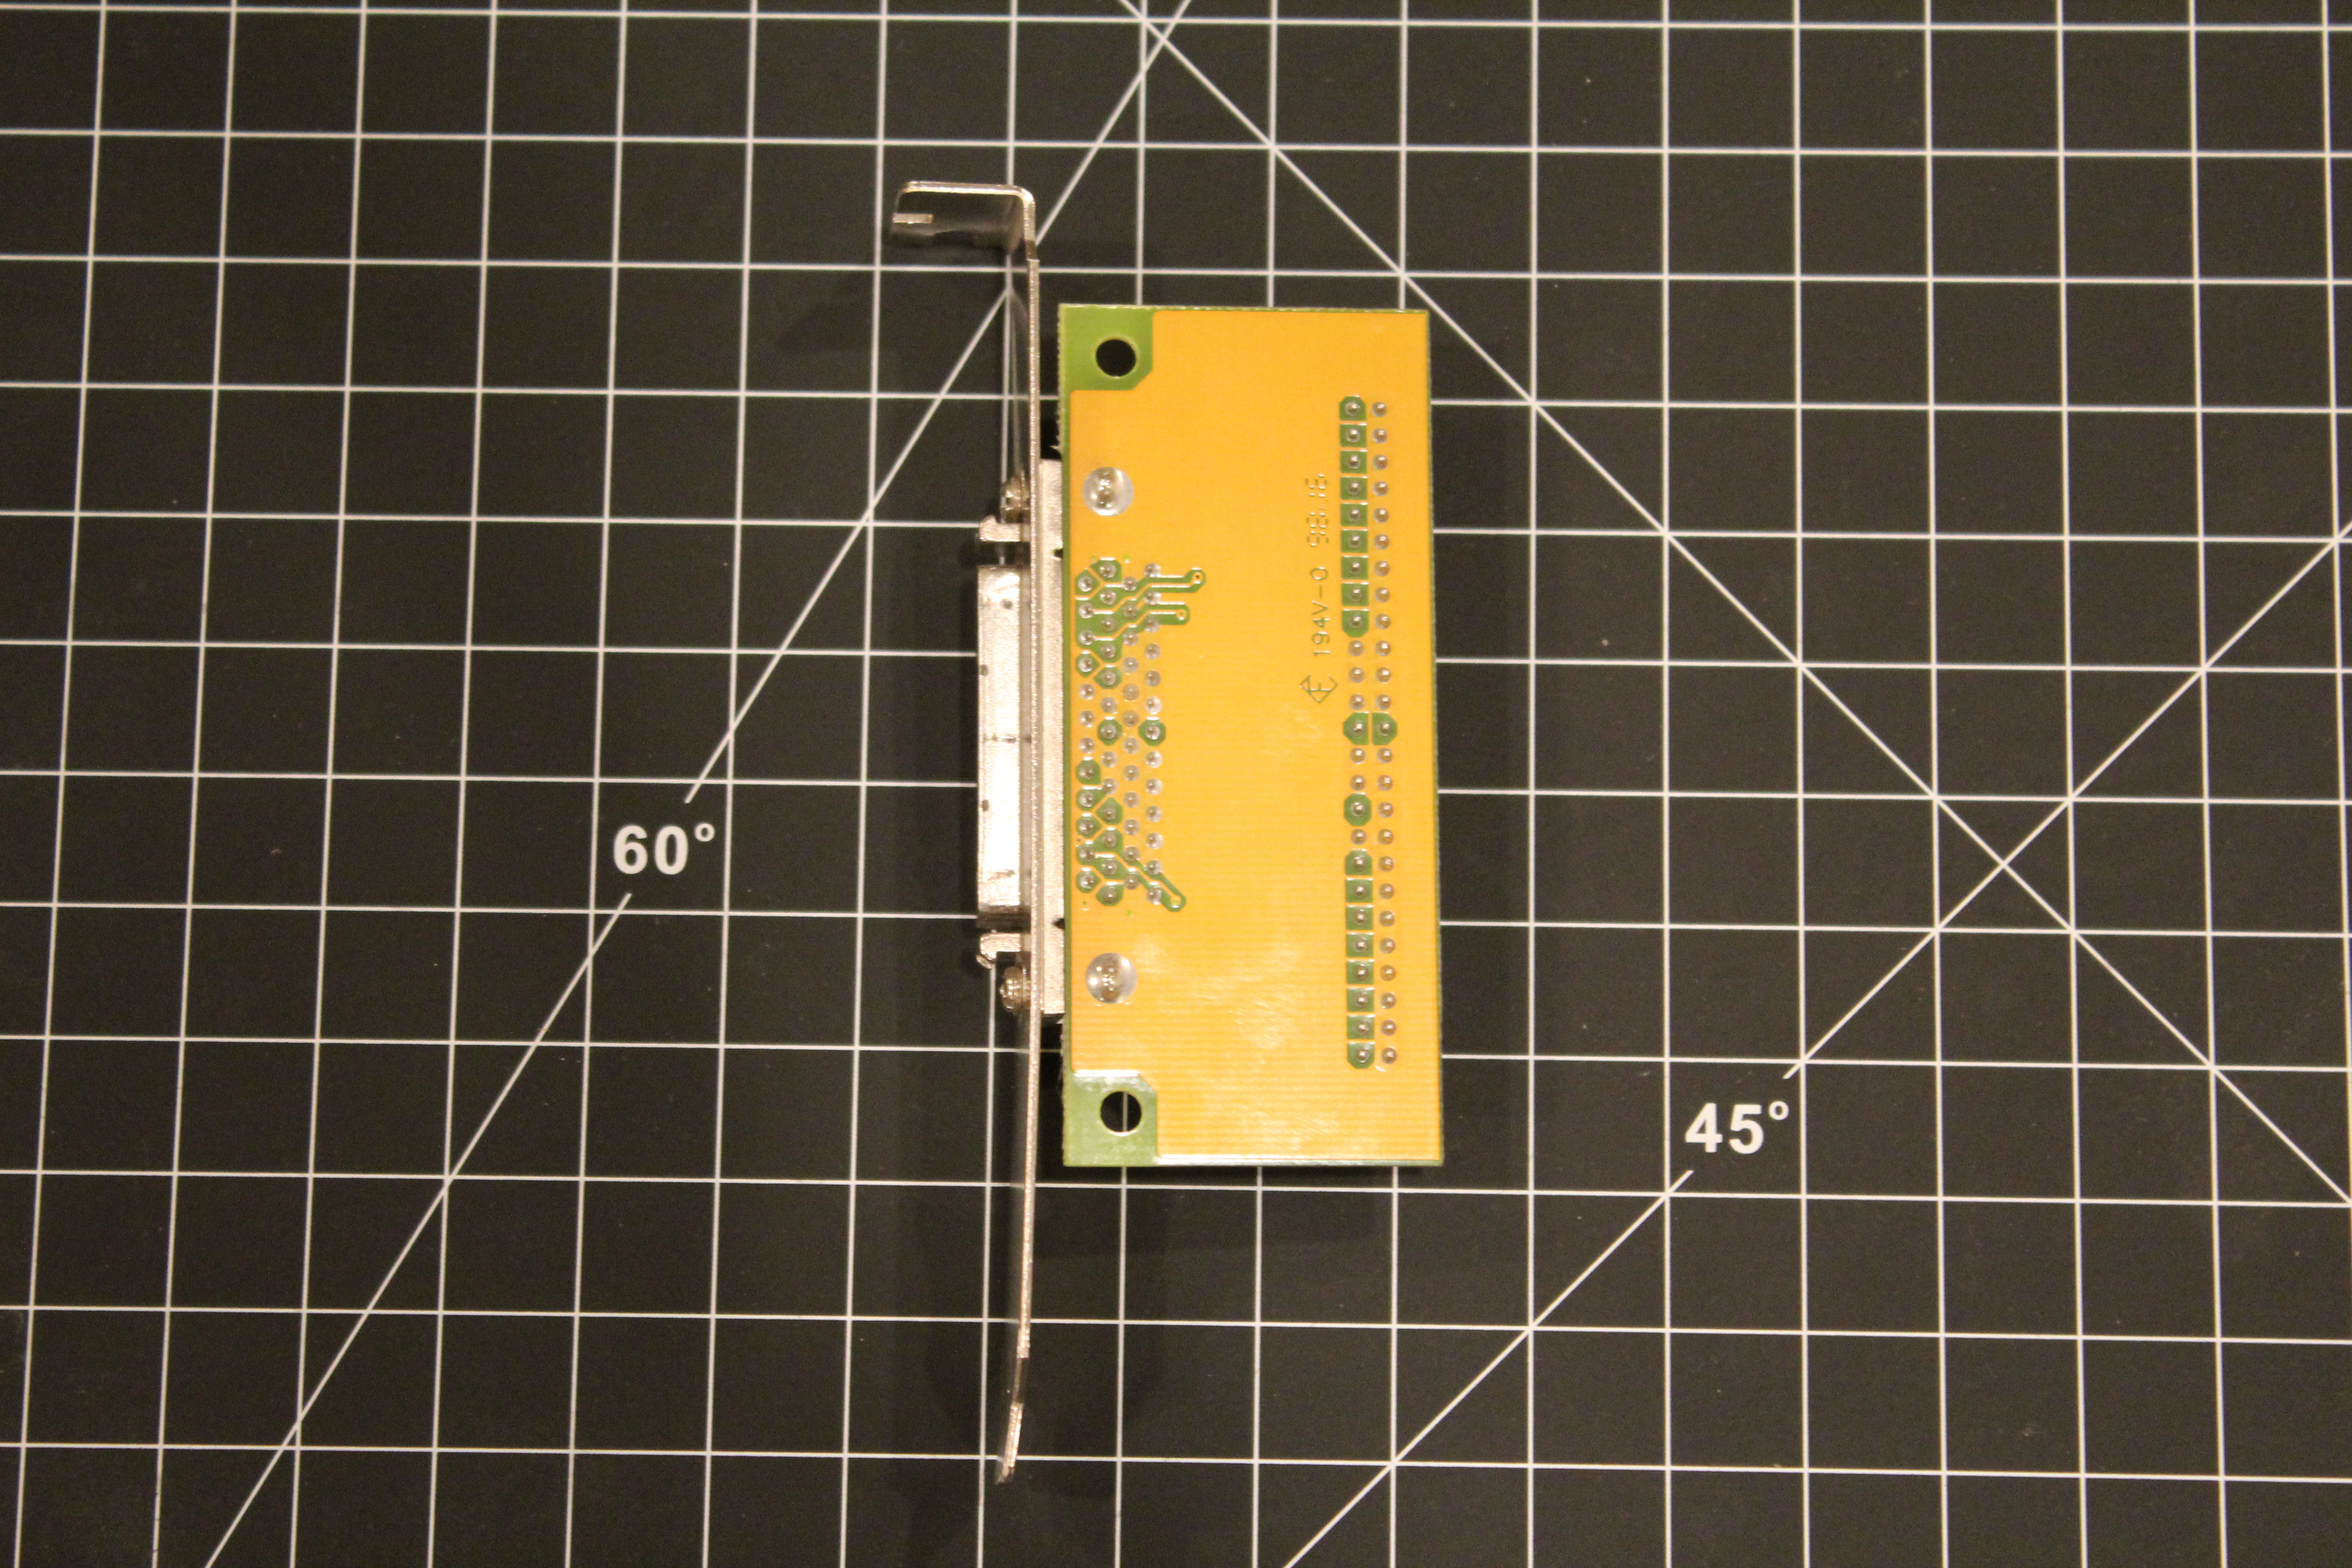
While this works it proved a bit flimsy. Luckily I have access to some sheet metal cutting tools and was able to make a back plate for the two adapters. I won’t bore you with all the details and the painting suffice to say in the end it looked like this:

Even though the metal was primered and painted I was still a bit worried about a short so I insulated the back of the two adapters before mounting them on the plate with screws:
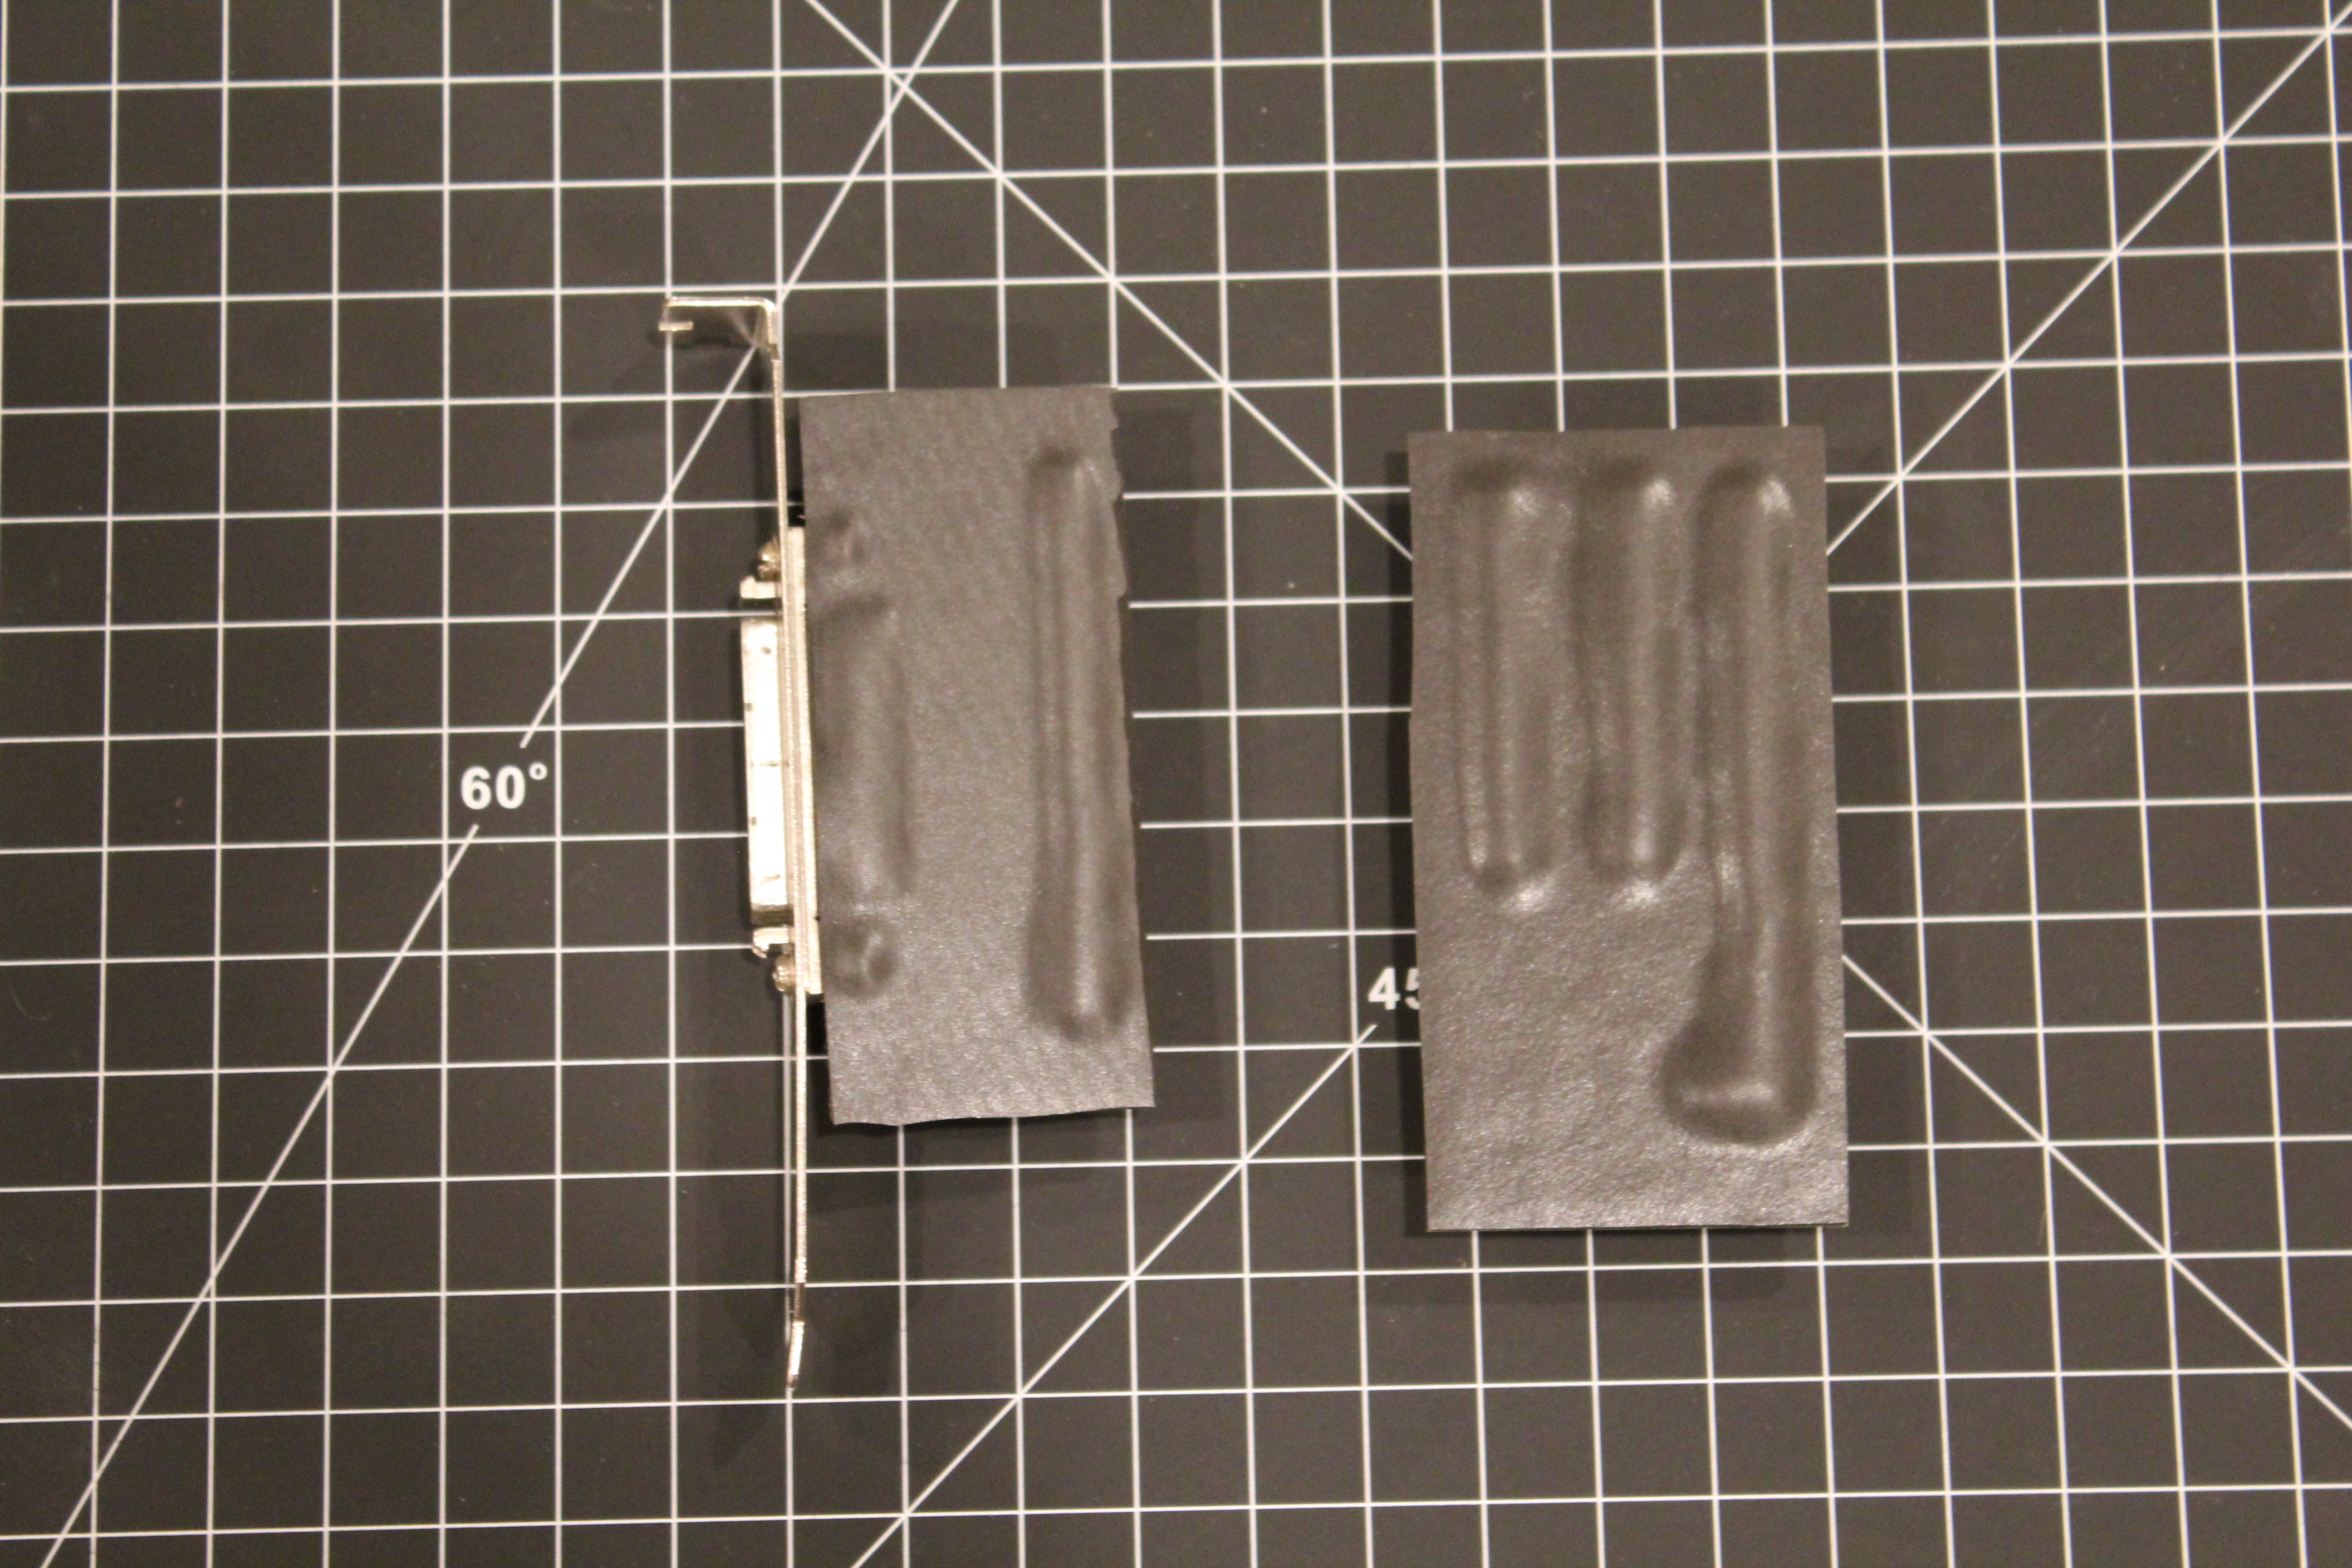 |  |
A bit of insulation on the back as well just to be safe:

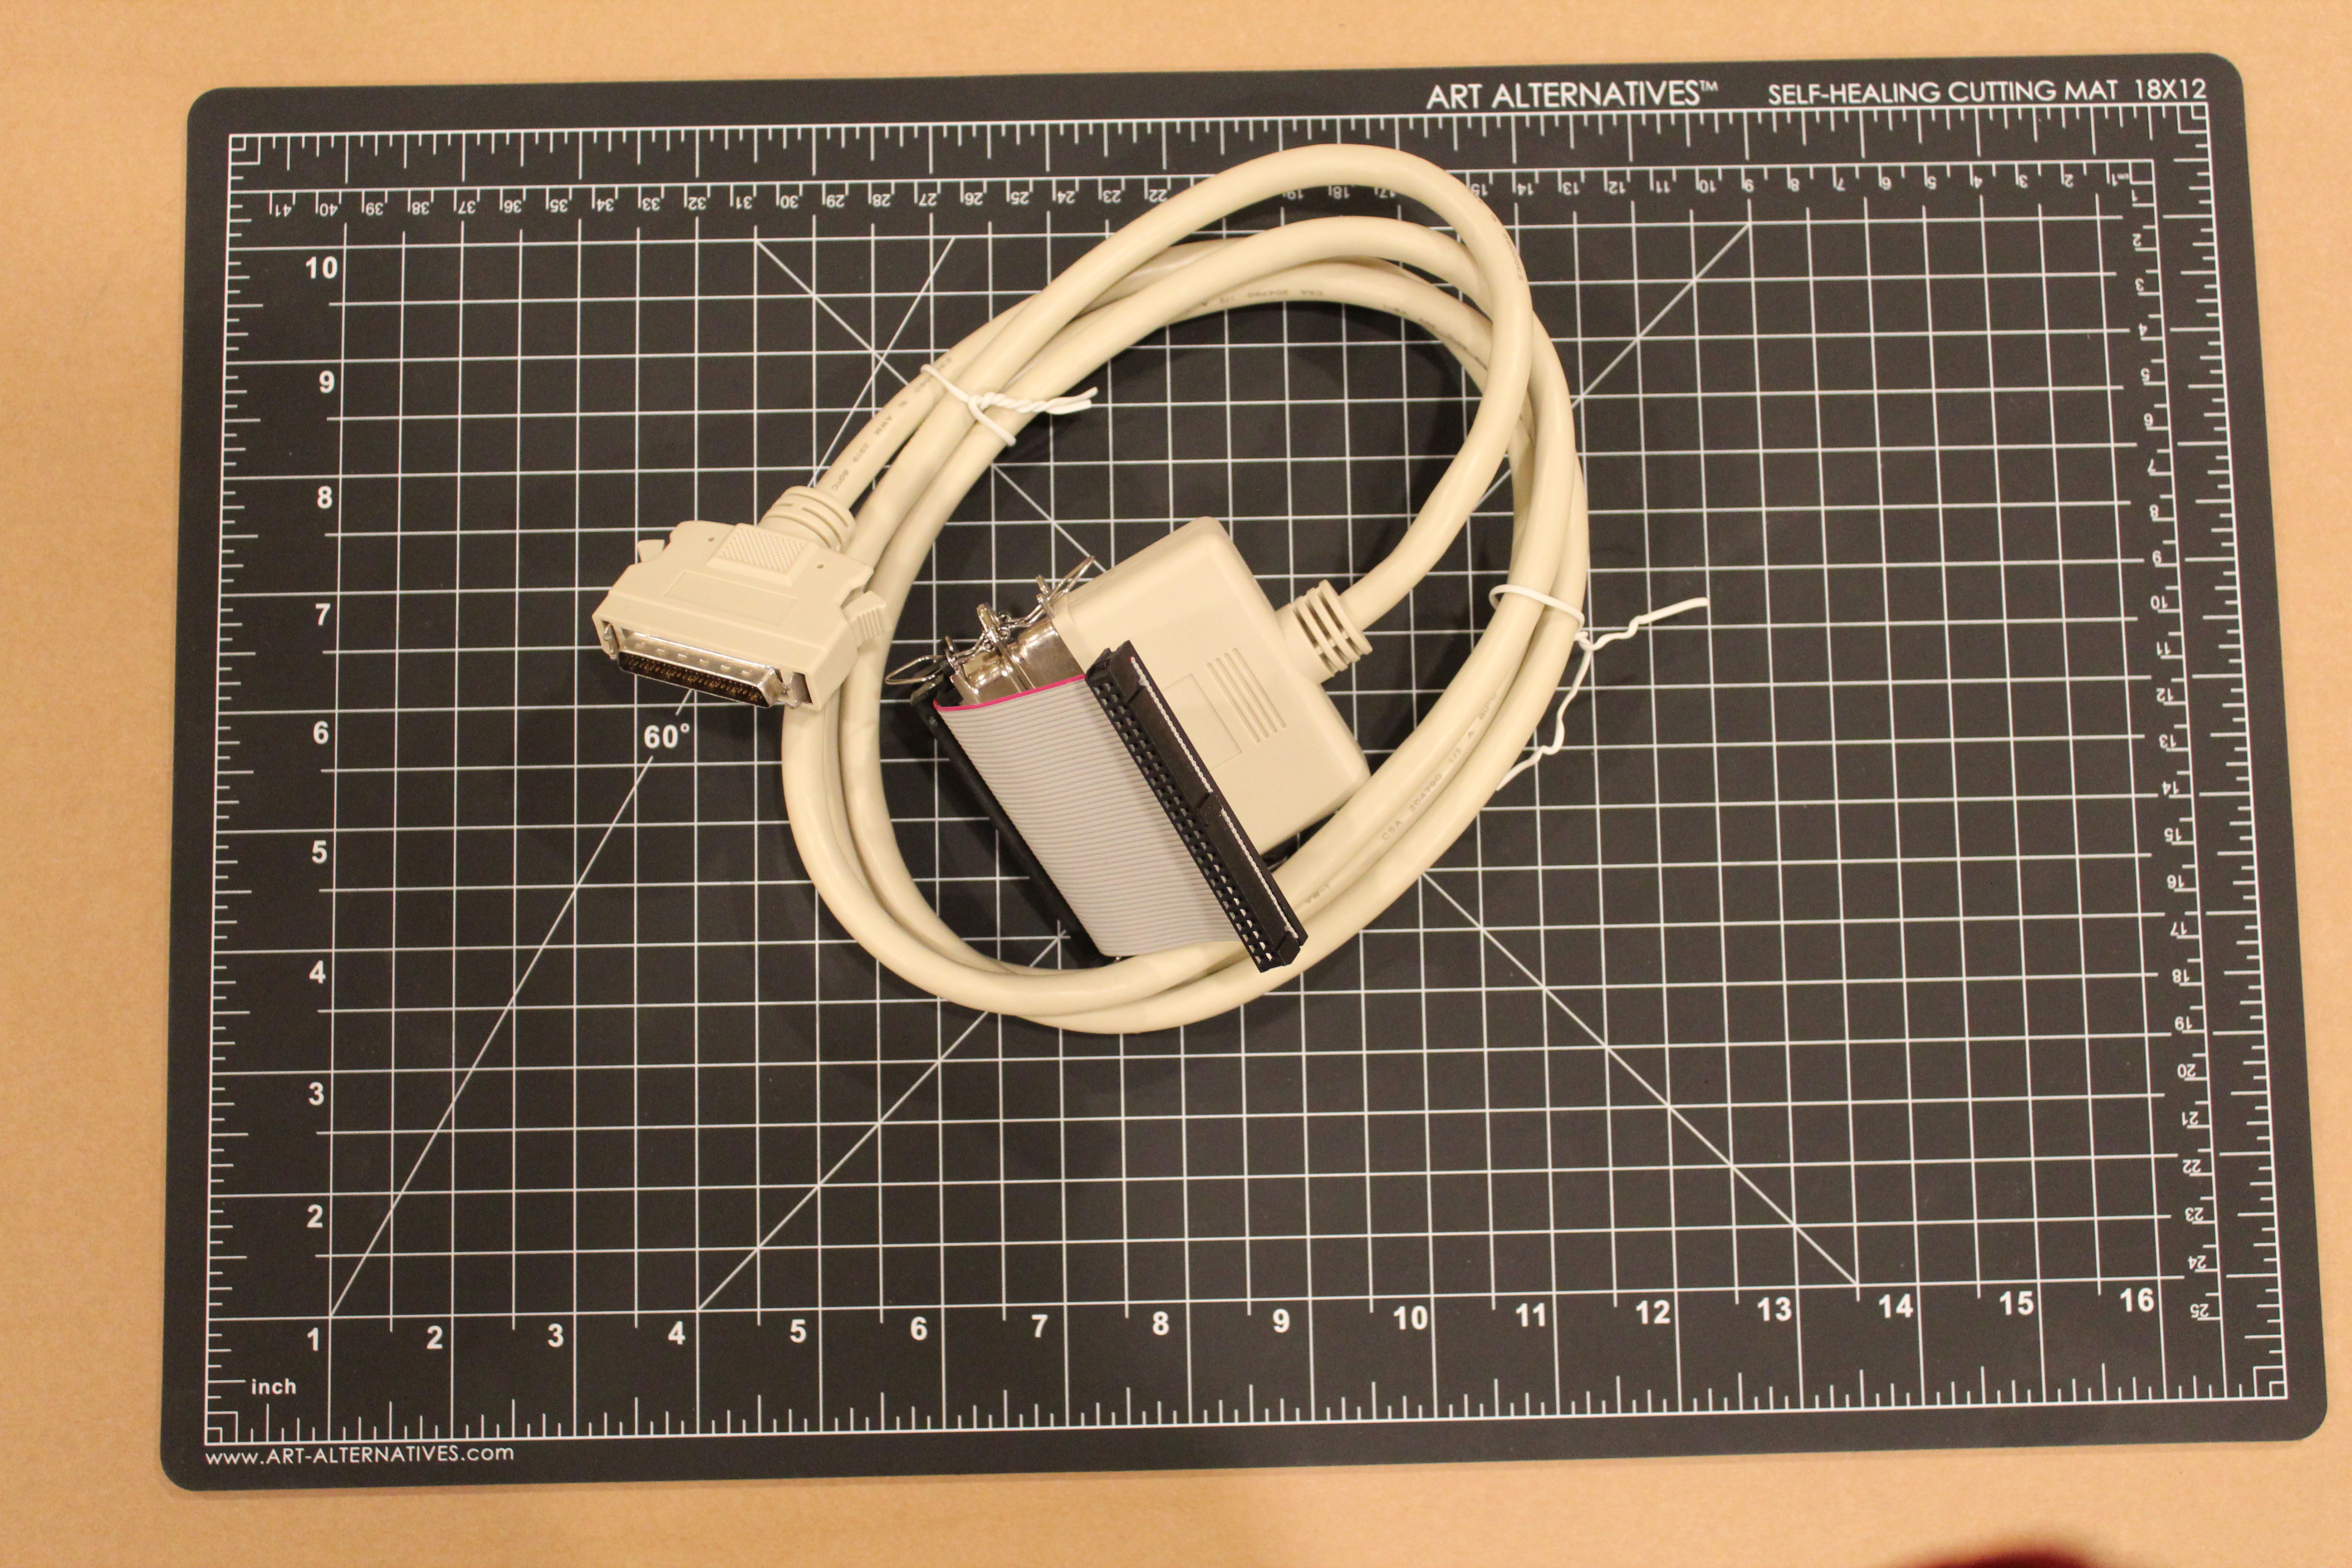
Next I needed a cable to connect the HD50 to the 50-pin IDC on the enclosure. Unfortunately such a cable does not exist (at least I could not find one). However, HD50 to Centronics 50 cables are abundant and cheap and luckily so are crimp-able Centronics 50 connectors:
 | 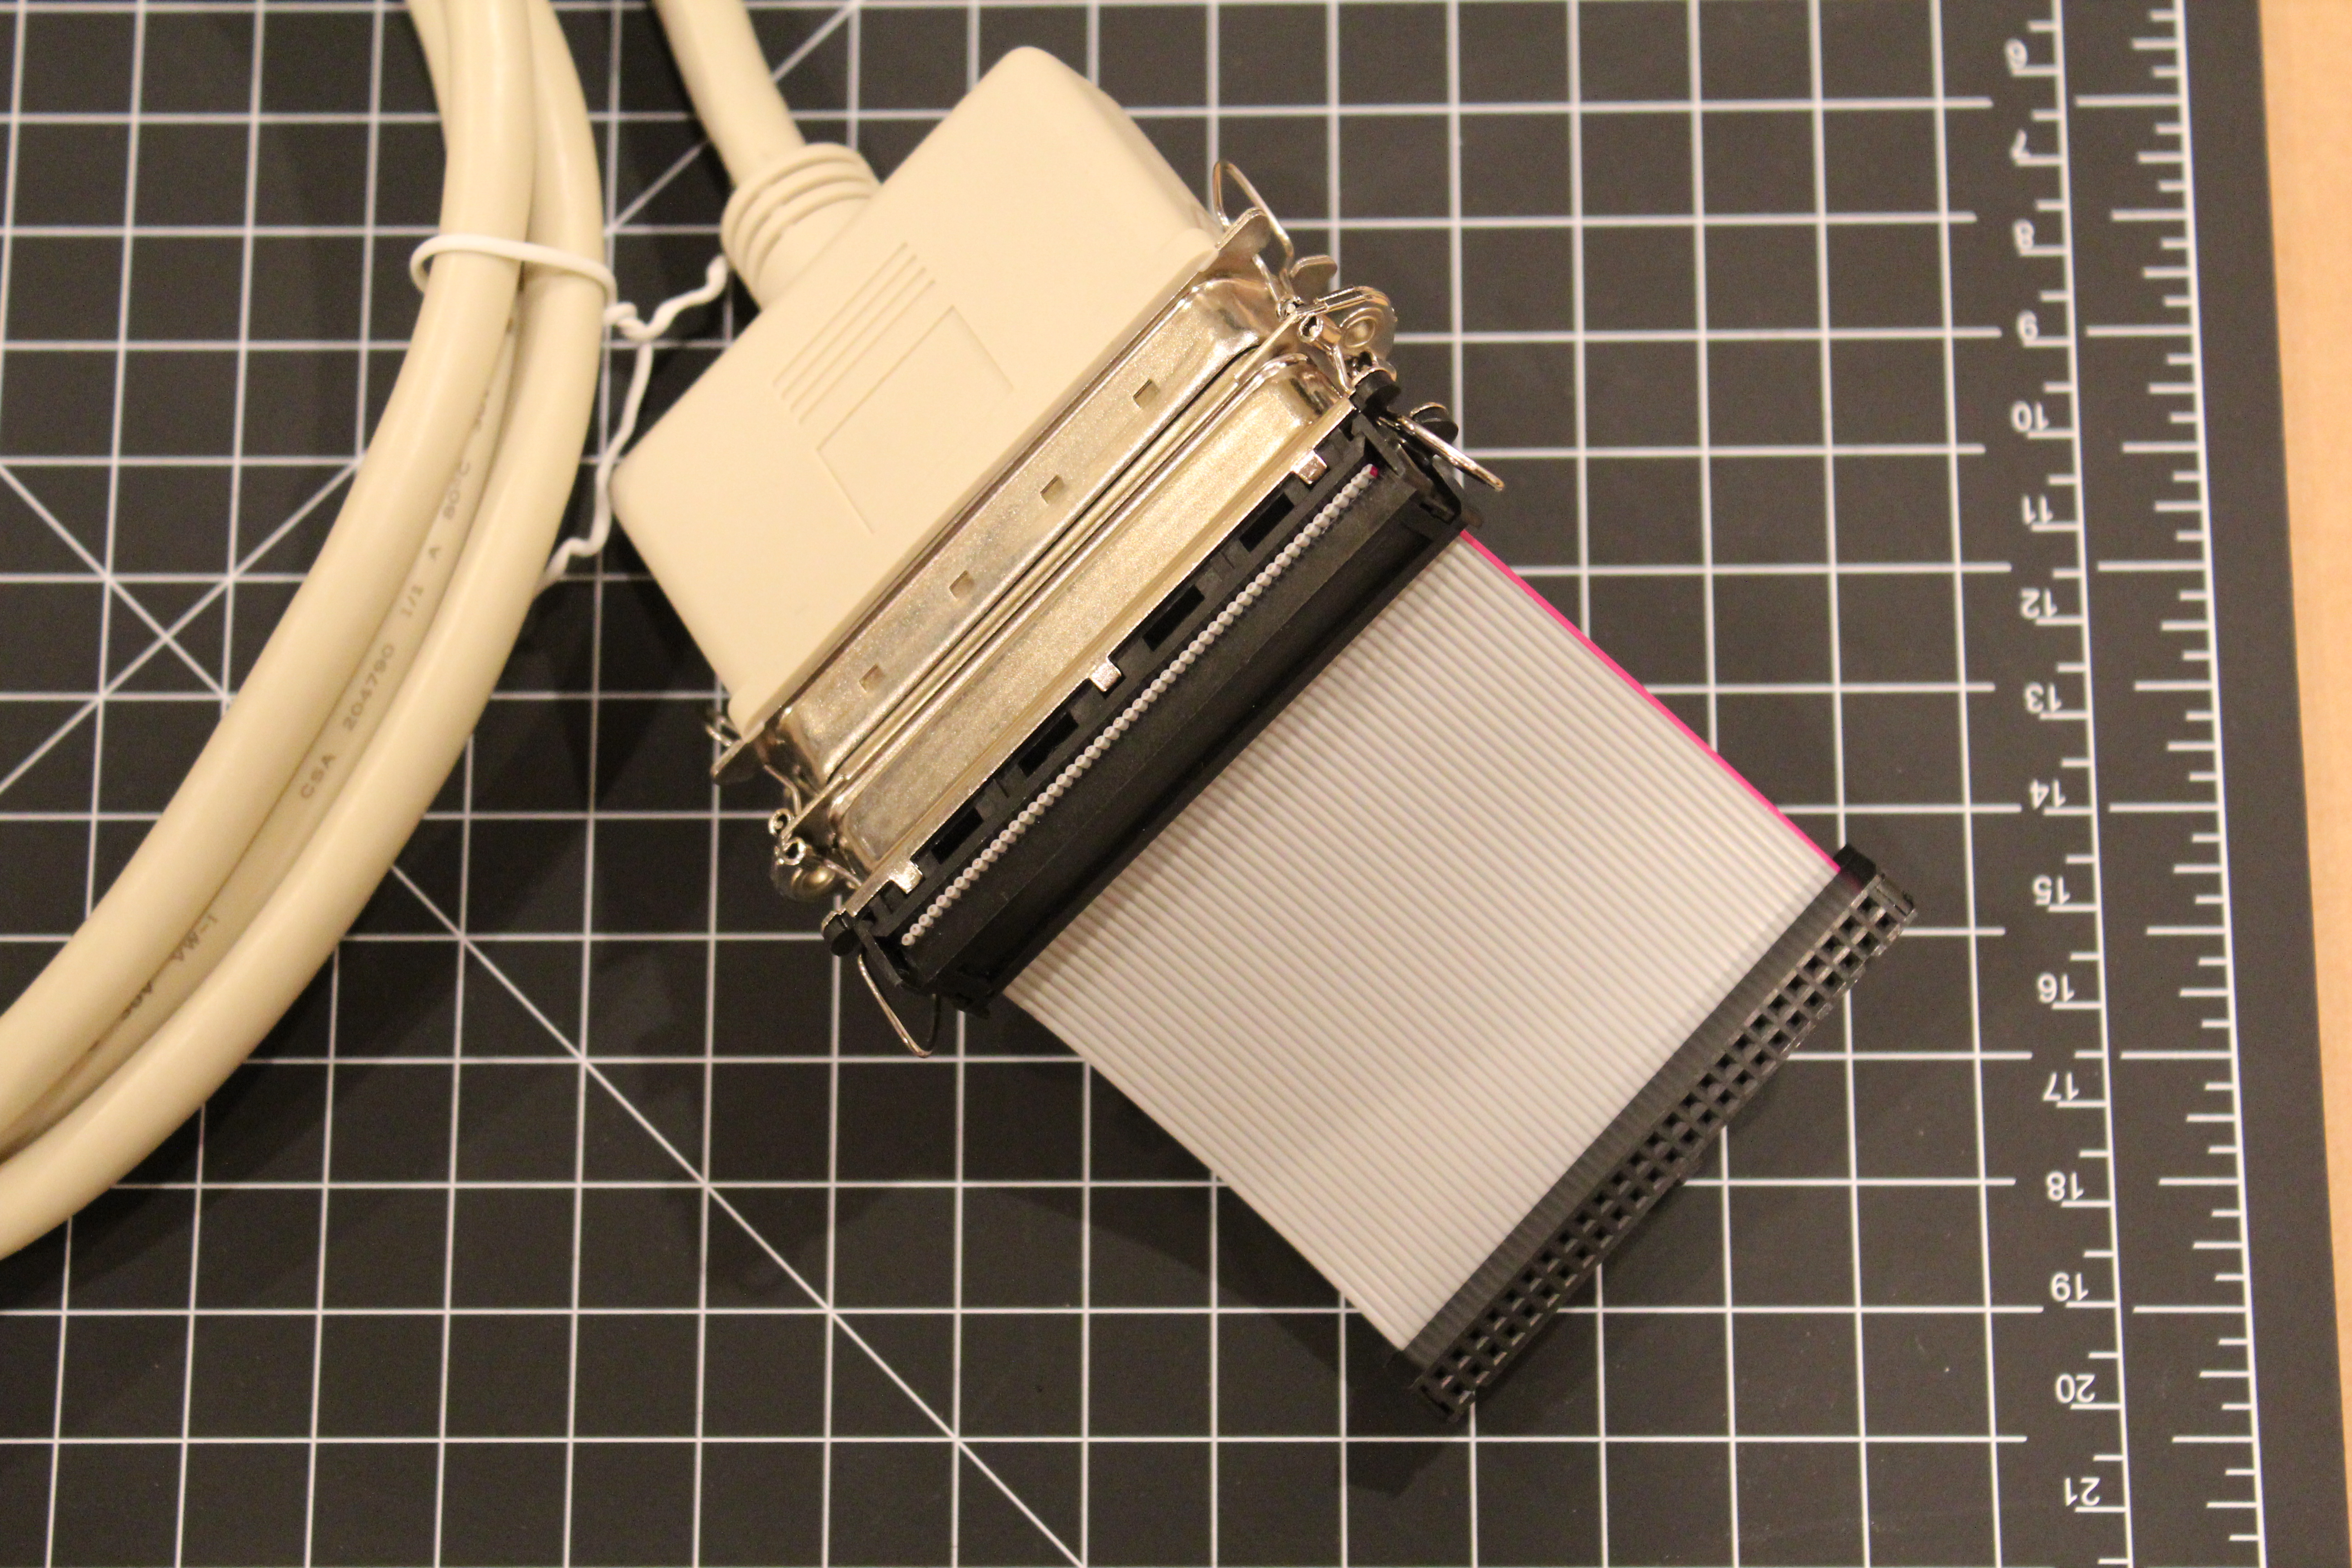 |
 | |
And the final assembled product:

This provided an easy to install/remove adapter
card that will fit any standard PC case while at the same time providing an
external connector for easy connection of drives.